Detailed medical information and medical alerts can be imported from your Student Information System (SIS) software (CASES21, EdSAS etc). If you have set up the automated import of this data into XUNO, then this information will be automatically updated each day.
You can also use XUNO to add extra medical information about students such as allergies, sick bay visits, treatments, alerts, treatment plans, and more.
In this article
Adding medical information to a student profile
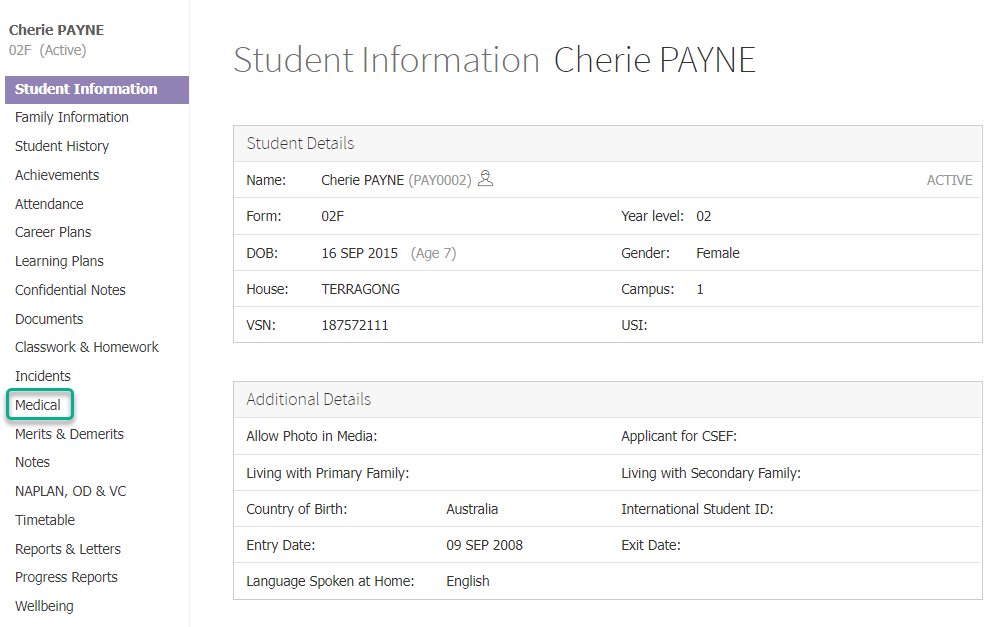
- Find a student using the search bar and click on their name to go to their student dashboard.
- Click on Medical on the left hand menu.
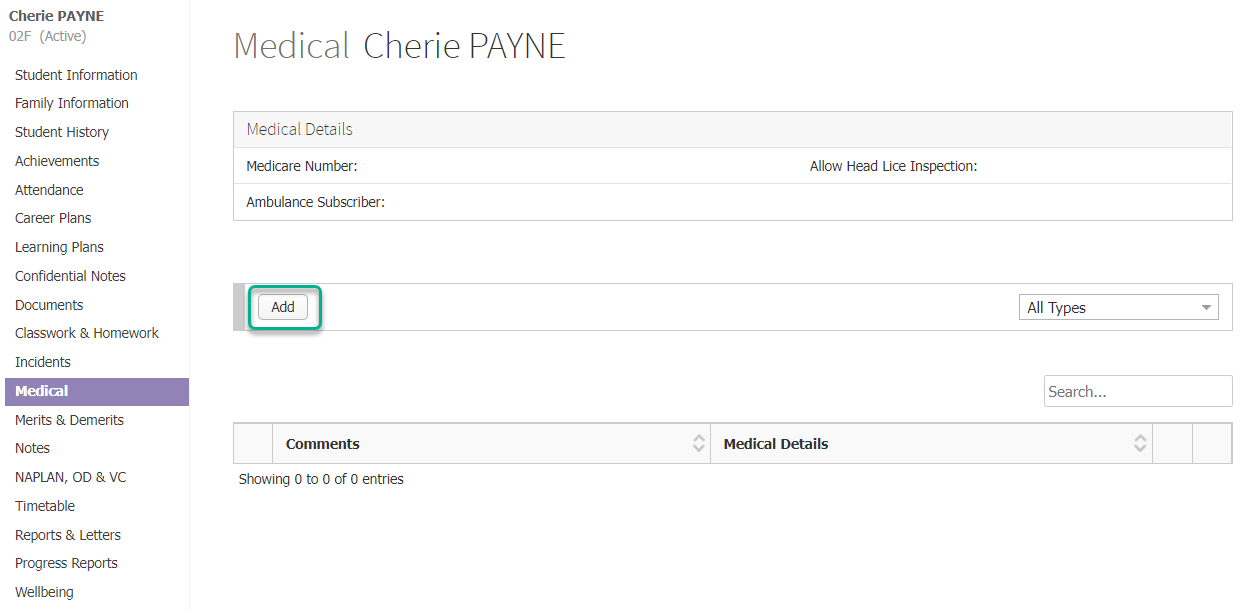
- If you have the relevant permission assigned to you, you will see details of imported medical information from your SIS in the Medical Details section, as well as in the table in the lower part of the screen.
- Click on the Add button if you want to create a new medical record.
- If you are creating a medical record that applies to multiple students, you can click the [ Show / Hide additional student selection ] text and select one or more students to add to this note. All information is duplicated across to all students added to the same record.
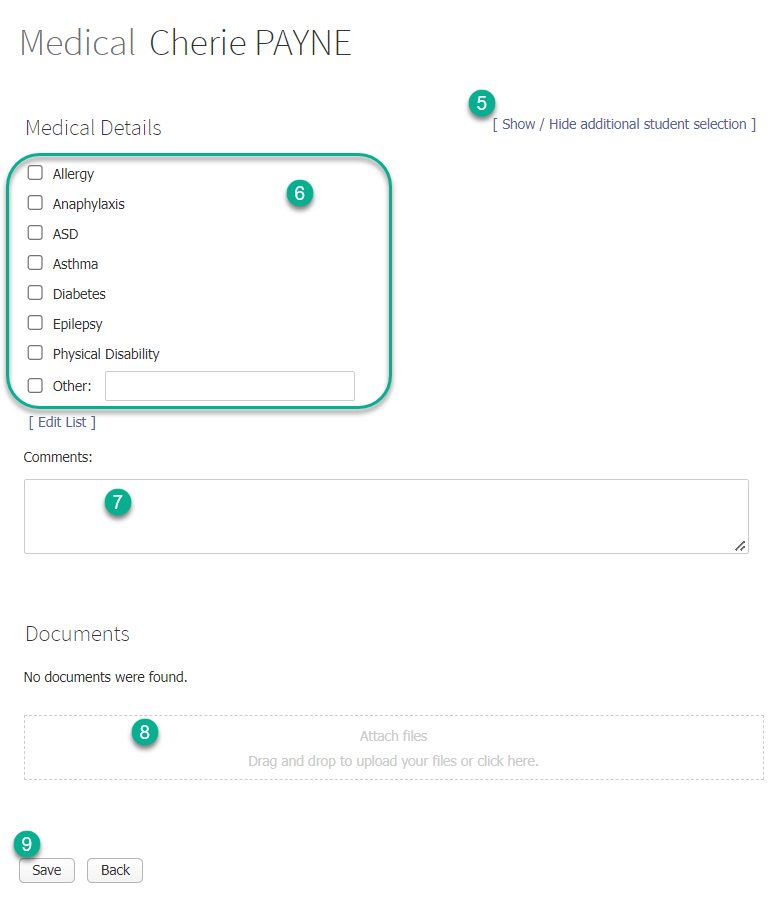
- Use the checkboxes under Medical Details to select the type of medical record you are adding. If you have permission, you can modify the list of available types by clicking on the [ Edit List ] text.
- Add any Comments you wish to add in the text box.
- Attach any files to the record if required, by clicking in the Upload area and browsing to your file, or by dragging and dropping files into the area.
- Click the Save button.
Viewing and editing student medical information
- Find a student using the search bar and click on their name to go to their student dashboard.
- Click on the Medical item in the left hand menu.
- Click on the dropdown to filter by medical information type, or leave the default option of All Types.
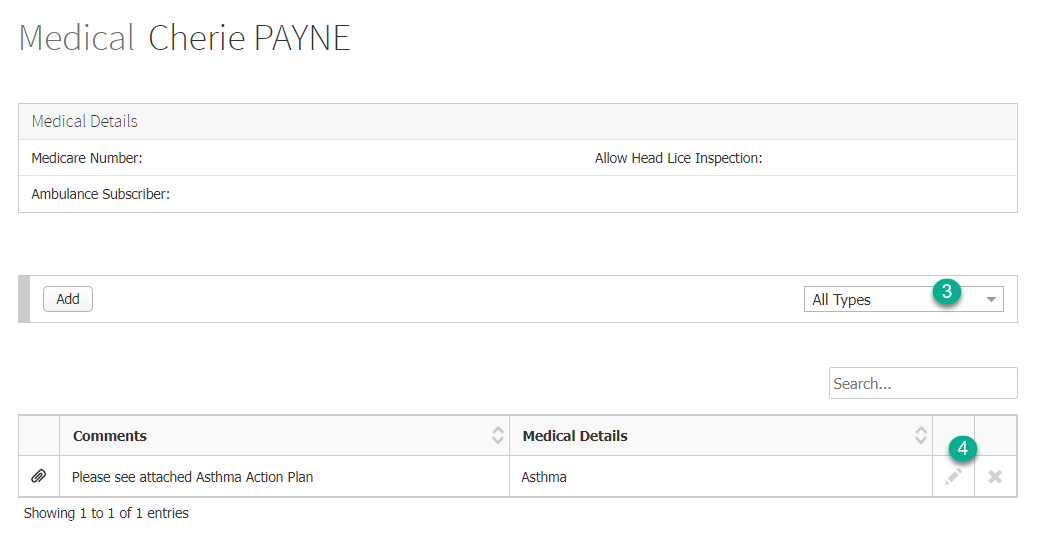
- Click the Pencil icon next to a record to view or edit it. You can use the Search bar at the top right of the table to find specific notes, or sort any of the columns in the table with up or down arrows in the column header.
- Edit your medical information record as needed.
- Click the Save button, or the Back button if you are viewing only.
Deleting student medical information
- It is not recommended that you delete student medical information, as it is of great benefit to have a full timeline of a student's medical information history. However, under the circumstances that deleting a record is necessary, follow the simple process below.
- Choose a student from the search bar and click on their name to go to their student dashboard.
- Click on the Medical item in the left hand menu.
- Find the applicable record using the steps above for viewing and editing student medical information.
- Click the Delete icon next to a note to delete it.

- Click OK.
Modifying student medical information types for your school
Note: You will only be able to do this if you have the relevant permissions assigned.
- Go to Options > Software Settings > Lists & Options.
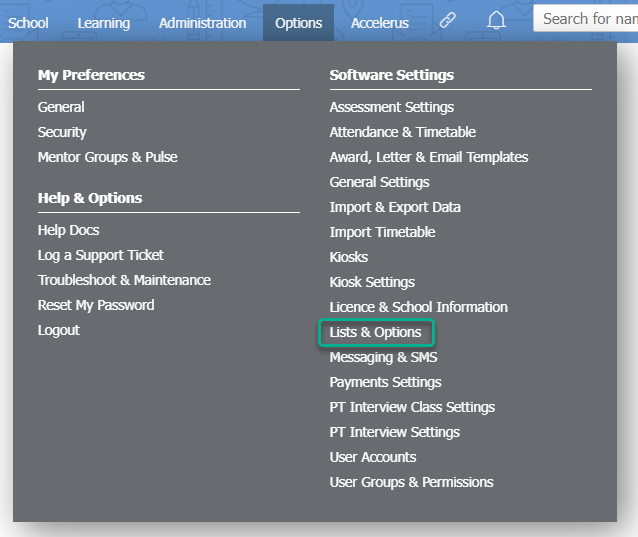
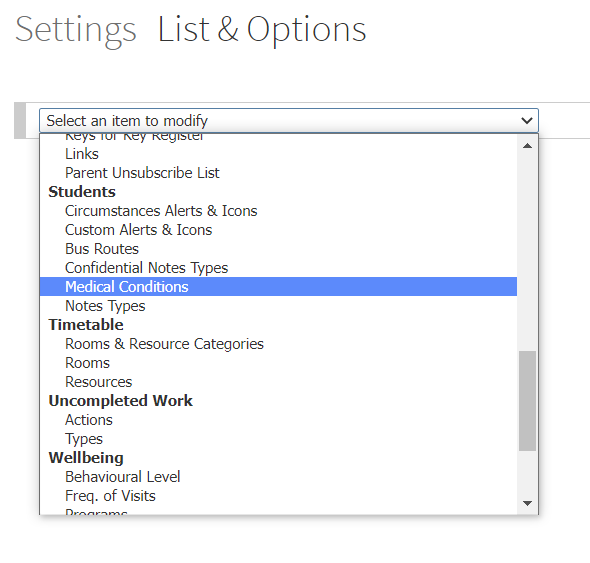
- Use the dropdown list to find the Students subheading and select Medical Conditions.
- You can add a new item by entering a name into the Item column, then clicking the Add button.
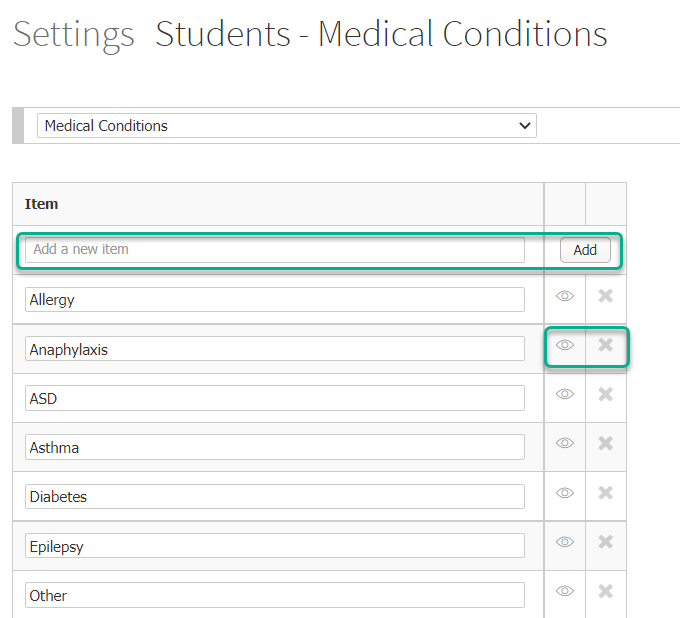
- You can use the Eye icon to hide/unhide medical condition types from the list, or the X icon to delete. You will not be able to delete types that you have already added to a student record in the past.
Important
XUNO does not allow users to edit imported medical information. If you find that imported medical information is incorrect, this will need to be adjusted in your SIS.