Adding and modifying letter templates
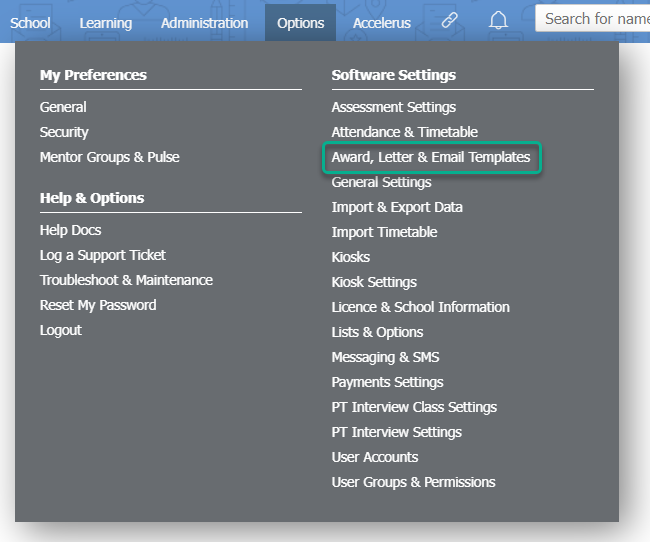
- Go to Options > Software Settings > Award, Letter & Email Templates.
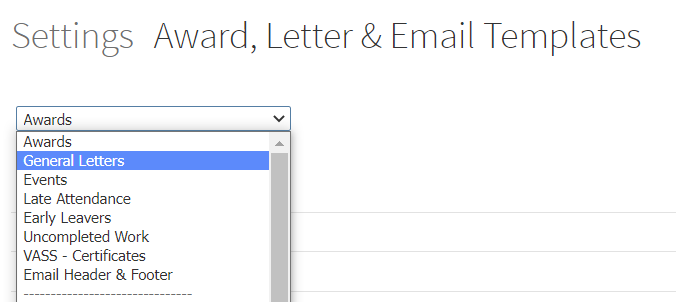
- From the dropdown list, select General Letters.
- Letters must be uploaded as Microsoft Word .docx files. If you wish to use merge fields in your letter, you can see the list of available merge fields by clicking in the Show Merge Fields button. The list opens in a new browser tab.
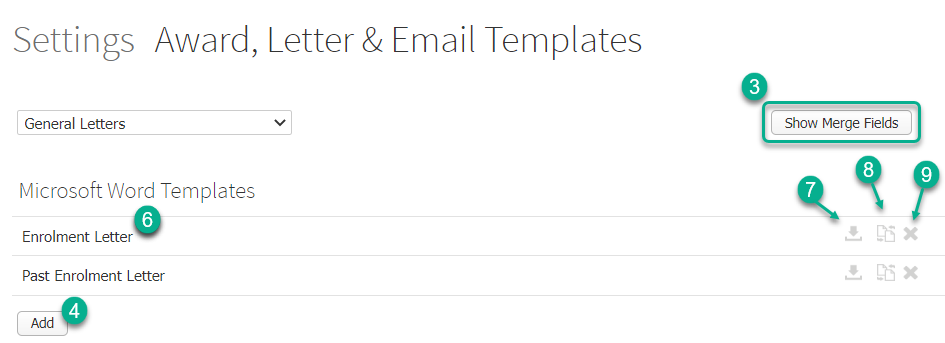
- Click the Add button to upload a new letter.
- Use the Choose file button to navigate to and select your .docx file, then click the Add button in the popup.
- To edit the name of the letter, click on its name and type in your new text, then click anywhere else on the screen to save.
- To download a Microsoft Word template for editing, click the Download icon next to the letter's name.
- To replace a Microsoft Word template, click the Replace template icon next to the letter's name.
- To delete a letter, click the X icon next to its name.
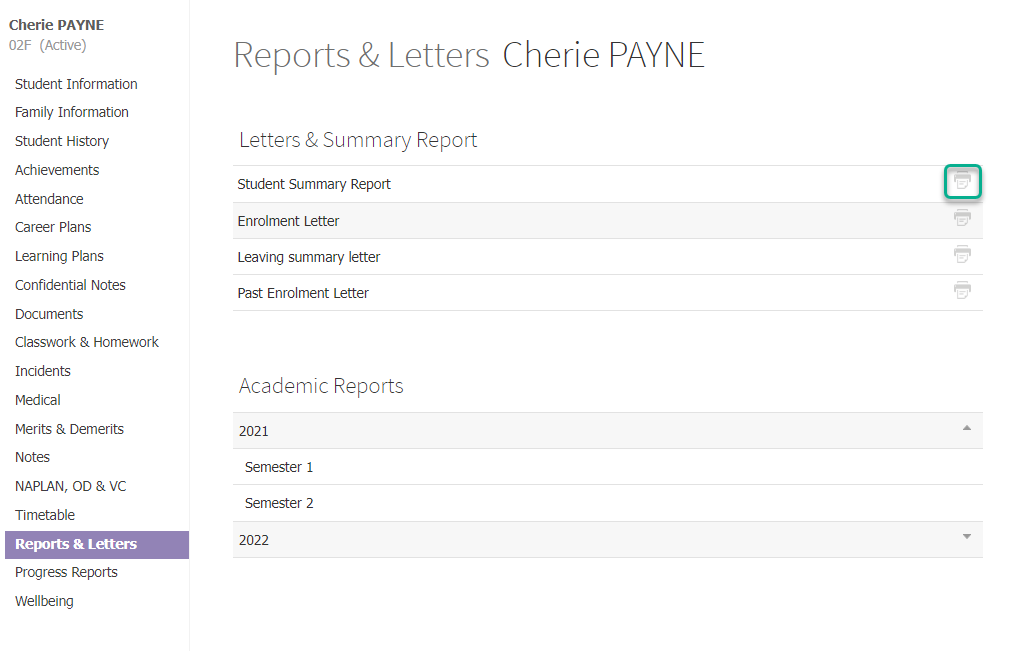
Viewing and printing letters
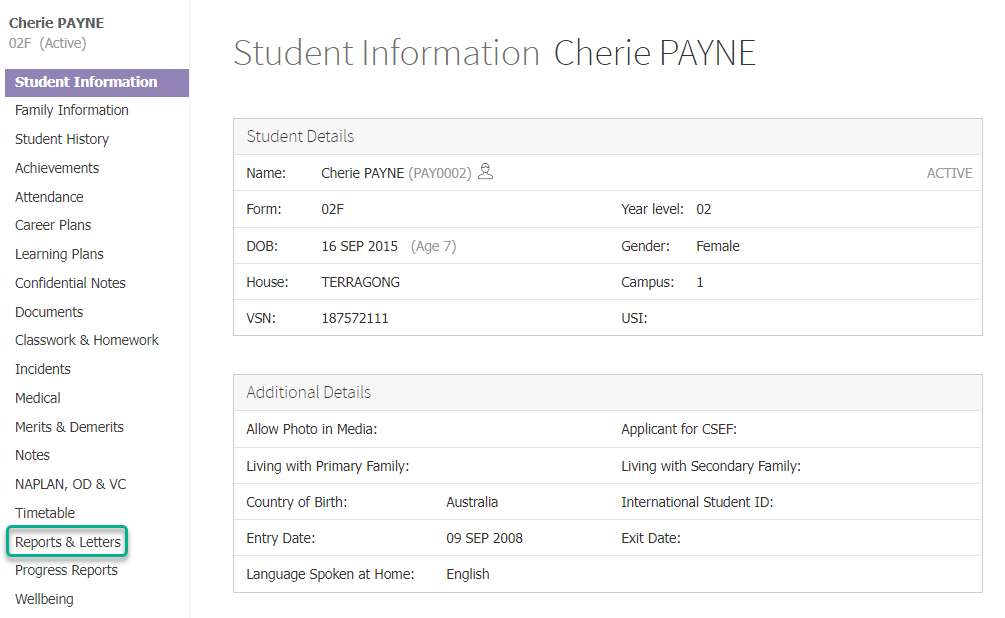
- Find a student using the search bar and click on their name to go to their student dashboard.
- Click on the Reports & Letters item in the left hand menu.
- Click on the Print icon that corresponds to the letter that you want to view or print. The file will be displayed in PDF format for you to then save or print.