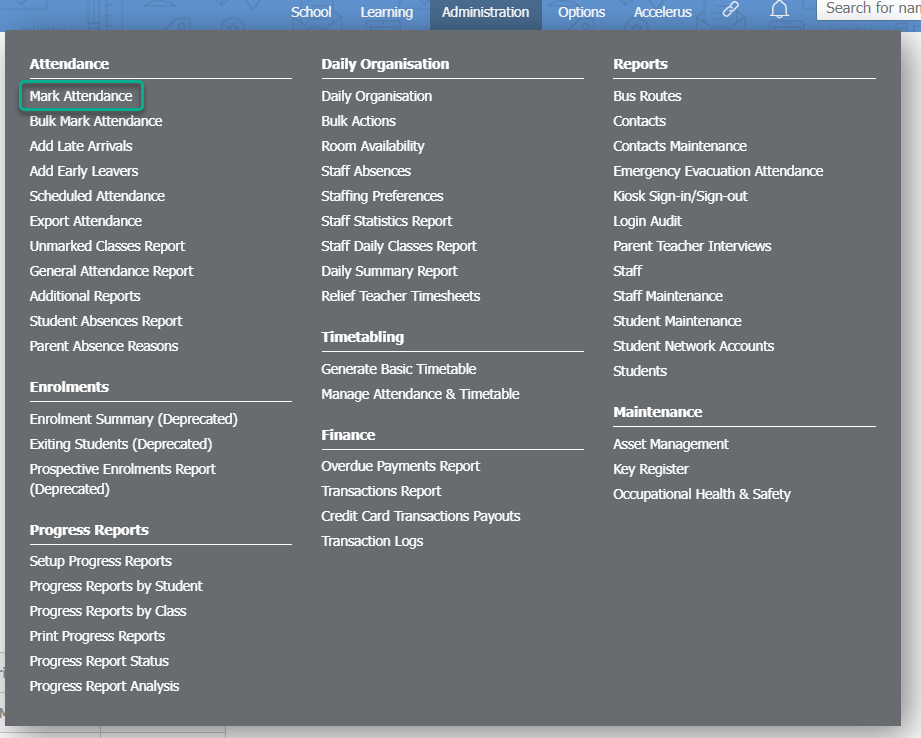
Marking attendance as an administrator
- Go to Administration > Attendance > Mark Attendance.
- Pick a date, student or teacher and class to mark attendance. If you selected a student, skip to step 5.

- Tick the Mark linked period(s) checkbox if you would like to mark all periods for the same day for this same teacher and class.
- You can use the buttons in the top right to mark the class in bulk with one of the attendance types. The Mark 'unmarked' only checkbox allows you to choose whether you overwrite all periods, or only mark those that are unmarked. P is Present, UA is Unexplained Absence, and O is Other, which displays a dropdown list with your school's attendance types to select from.
- Use the buttons next to a student's name to mark or edit the attendance reasons as required. P is Present, UA is Unexplained Absence, and O is Other, which displays a dropdown list with your school's attendance types to select from.
- You can optionally enter a note into the field provided in the Comments column next to each period and student. Comments are only shown to other staff, not to parents.
- If a parent has entered an absence reason via XUNO, this will show in the Parent Absence Reason column.
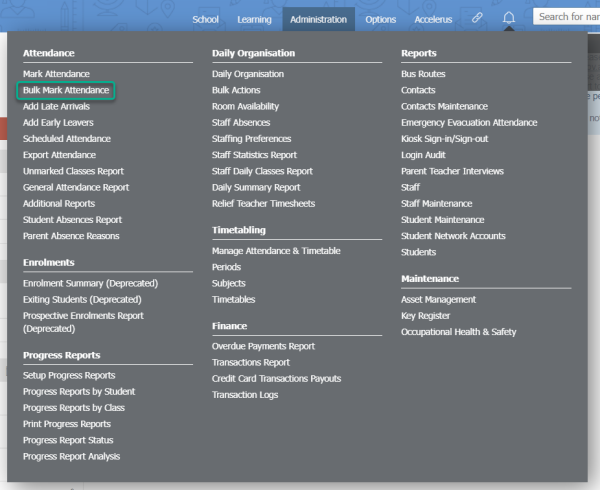
Bulk marking attendance
Using bulk mark attendance functionality will save time if you want to mark attendance across multiple periods by campus, year level, form, house, class, or even the entire school at once.
- Go to Administration > Attendance > Bulk Mark Attendance.
- Choose a date range by clicking on the start date and end date, and using the calendar picker to select applicable dates.

- If you wish to only mark certain periods, use the Periods: dropdown list to select one or more periods. Otherwise, leave the default option of All Periods.
- Select the students this attendance will apply to. You can use the checkbox to select the checkbox next to Entire School: if applicable.
- You can select individual students by typing the beginning of a student's given name, preferred name or family name into the Select Student search box, then selecting the student from the filtered dropdown list. Add as many individual students as required using this method.
- If applicable, select one or more Campuses, Year Levels, Forms, Houses, or Classes from the dropdown lists to apply the attendance to.
- Once you have selected the students, use the Only mark class: dropdown list to restrict this attendance marking to selected classes only, or leave the default option of All classes.
- Select your attendance type from the Mark as: dropdown list. This list is populated with all the attendance types used at your school.
- Tick the checkbox shown to Only mark unmarked records if you want to keep attendance data the same for any previously marked periods. If this checkbox is unticked, then you will overwrite all attendance data for this date range with the attendance type you have chosen.
- Optionally, add any Comments as necessary.
- Click the Save button.
- If a notification window pops up, check your filters then click OK to continue with the marking.