Introduction
Your XUNO user groups define what permissions users will have when they sign in to XUNO. This controls what information they can view, enter and/or modify. Users can only be part of one user group at a time, so you might have to create extra groups for different sets of permissions.
For more information on XUNO user accounts, see the related article Managing your user accounts.
In this article
Default user groups
New users imported from your Student Information System (SIS) are automatically added to your default user groups. You can change the default groups new users are assigned to by following the below steps.
- Sign in to XUNO as an Administrator.
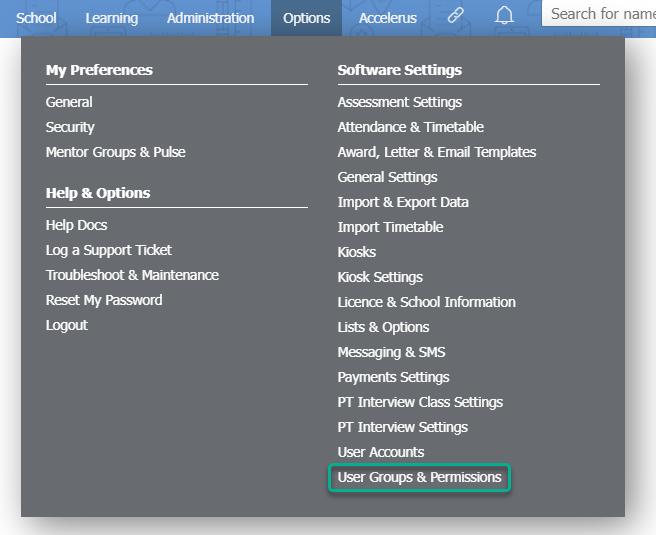
- Go to Options > Software Settings > User Groups & Permissions.
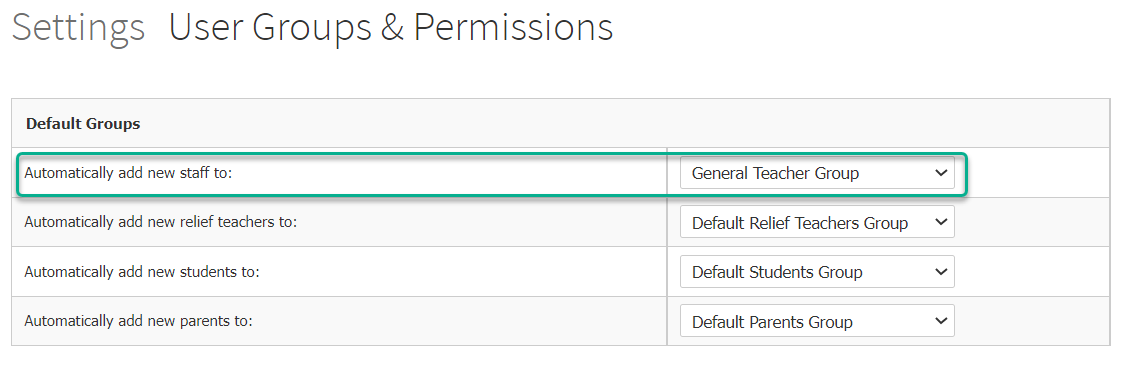
- Use the dropdown lists in the Default Groups table to change the default group new users are allocated to. Existing new user accounts will not be affected - this will only affect new user accounts that are created after your change. In the example below, you can see that when a new staff account is created due to to new staff details imported from the SIS, their user account will automatically be assigned to the General Teacher Group.
Note: For instructions on moving a user account to a new user group, see the related article 'How to manage your user accounts'.
Creating a new user group
- Sign in to XUNO as an Administrator.
- Go to Options > Software Settings > User Groups & Permissions.
- In the Group column, type a new user group name into the New name... field.
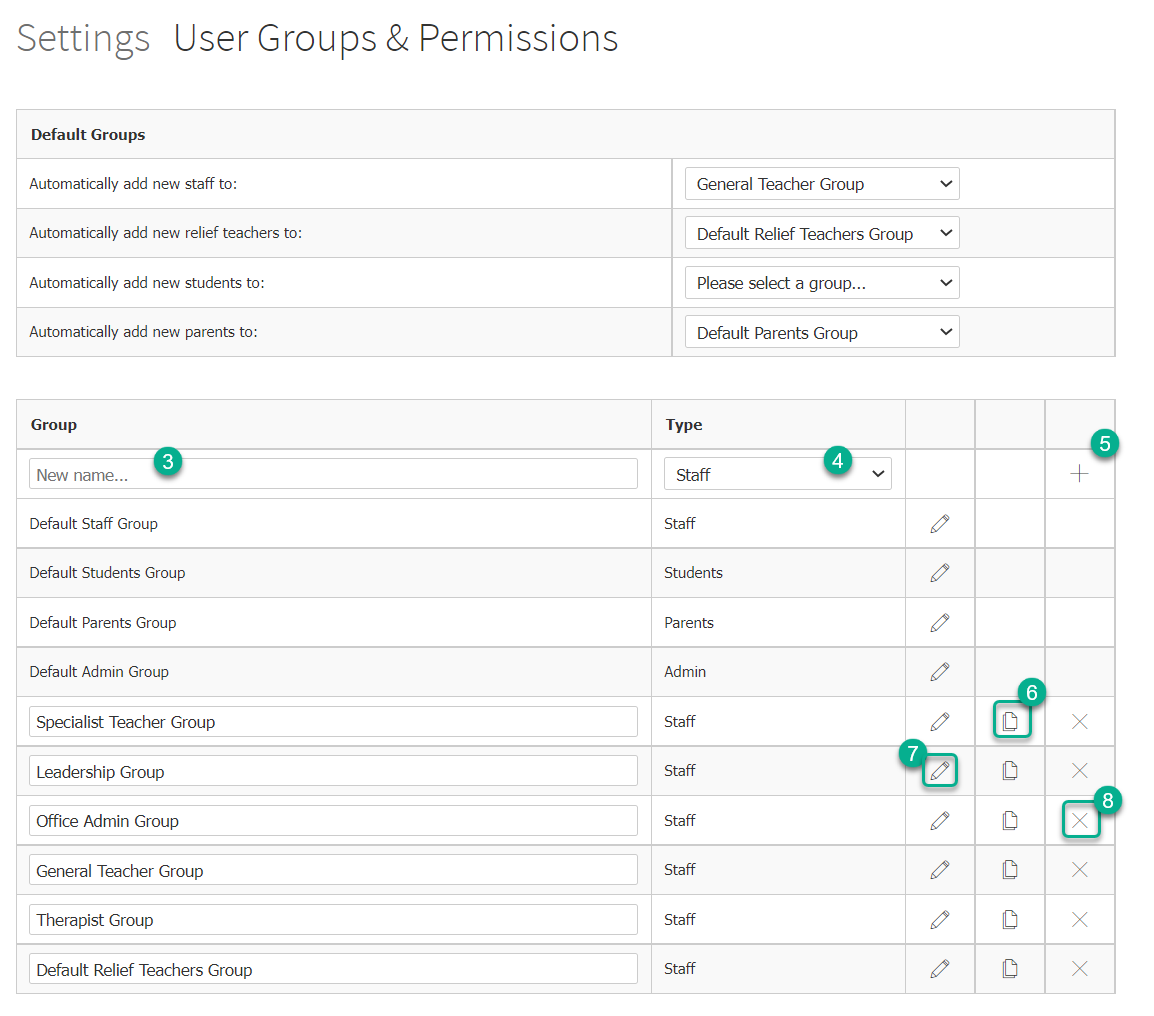
- Select the user group type from the dropdown list in the Type column. The type of user group you create defines which users you can assign to the group (for example, you won't be able to assign a student user to a staff group). Choose the group type carefully, as you will not be able to change it after you have created your new group. Admin type groups can access everything in XUNO except private confidential notes.
- Click the Add button.
- You can also copy an existing group by clicking the Copy icon which, will create a new group with the same type and permissions as the previous group.
- To edit the permissions of a user group, find the group in the list and click on the corresponding Pencil icon. Clicking this icon also allows you to view the members of each group. You will need to adjust all permissions as appropriate for this user group. See the below section, Adjusting user group permissions, for more information.
- To delete a group, find the group in the list and click on the corresponding X icon. Any users that are members of the group will automatically be moved into the default group setting for their user type.
Adjusting user group permissions
- Sign in to XUNO as an Administrator.
- Go to Options > Software Settings > User Groups & Permissions.
- Find the user group in the list and click on the corresponding Pencil icon.
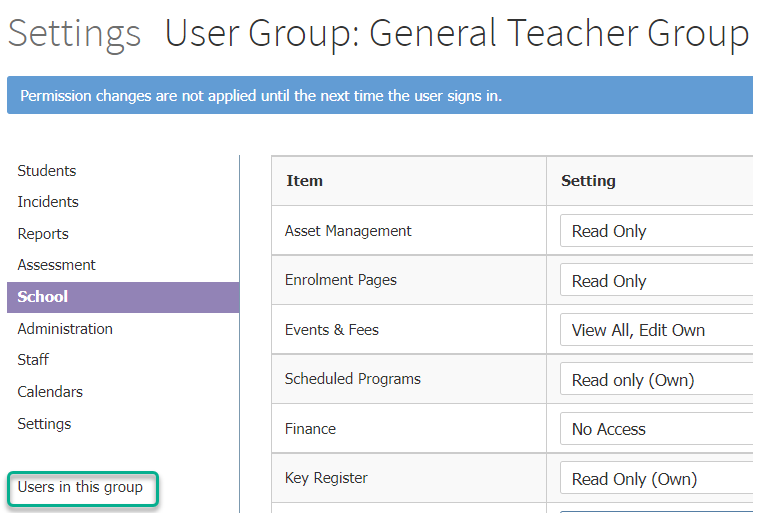
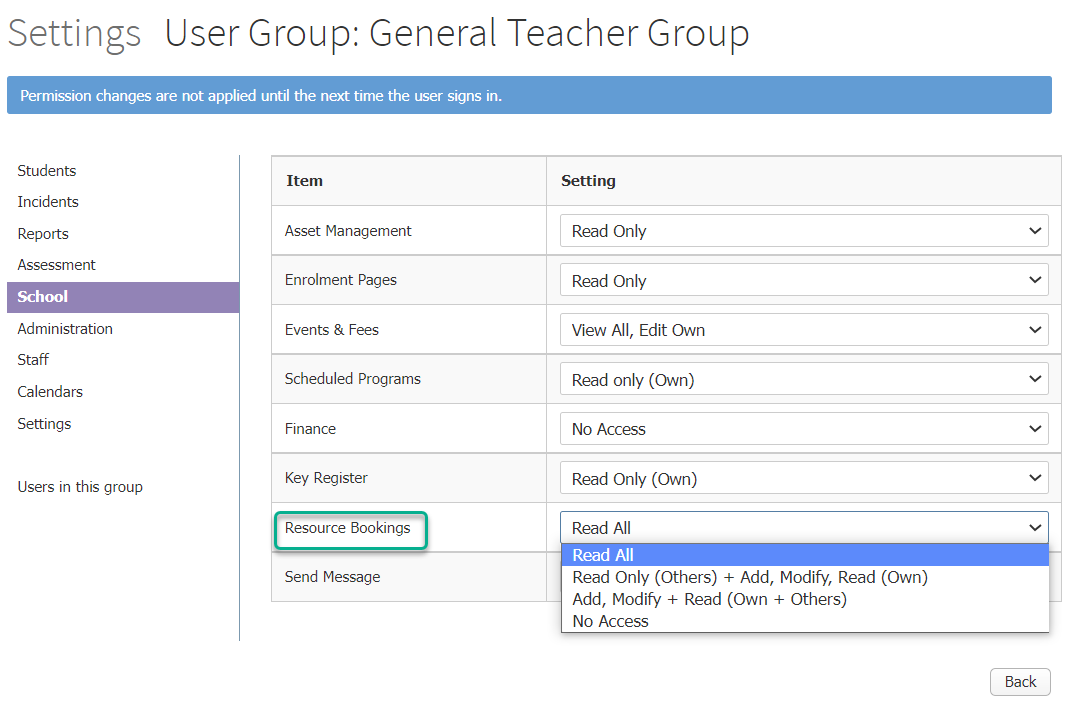
- Use the menu items on the left hand side to select which set of permissions to review.
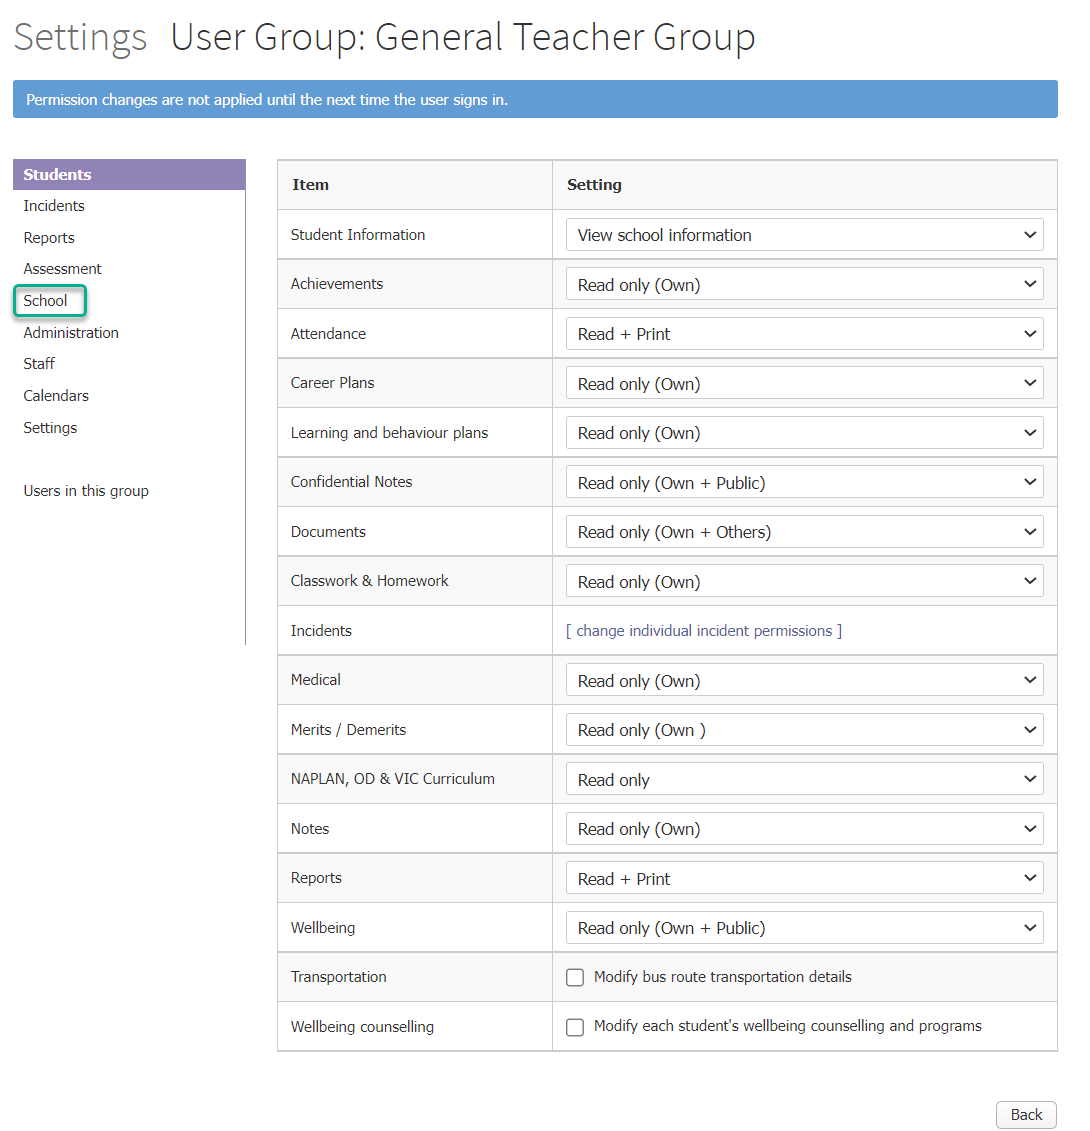
- Find the permission you'd like to adjust in the Item column, then use the dropdown list in the Setting column to select an appropriate permission level for this user group. In the example below, the permission setting relative to Resource Bookings has four options, depending on whether a user group has permission to read only, or add and modify resource booking records, as well as taking into account whether they can read and/or modify only records they have created (Own) or all records created by anyone in XUNO (Own + Others).
- If you need assistance with selecting the best permission level for any setting, contact XUNO Support for advice.
- You can also view all users assigned to this user group by selecting Users in this group on the left hand side.