In this article
Adding or modifying bus route names
- Go to Options > Software Settings > Lists & Options.
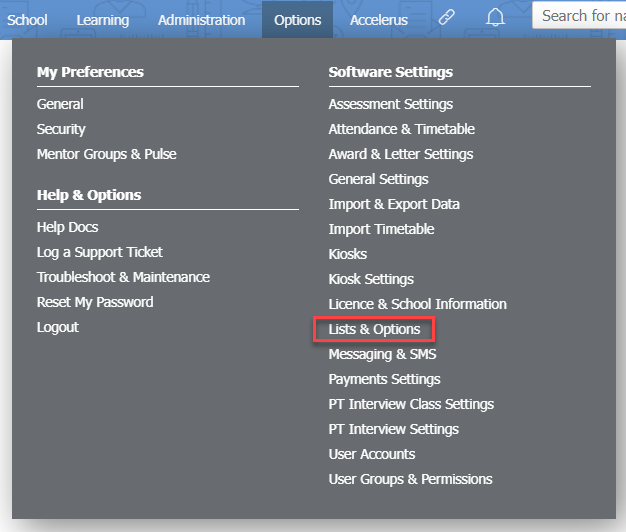
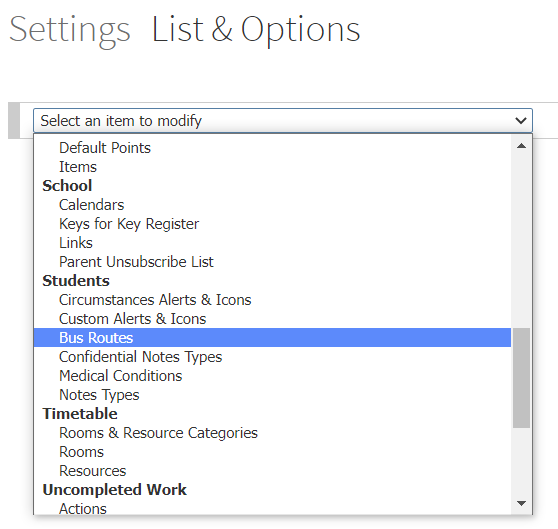
- Choose Bus Routes from the dropdown list (found under the Students subheading).
- Add or modify your bus route names as required. To add a bus route, type the new name into the Add a new item field, then click the Add button.
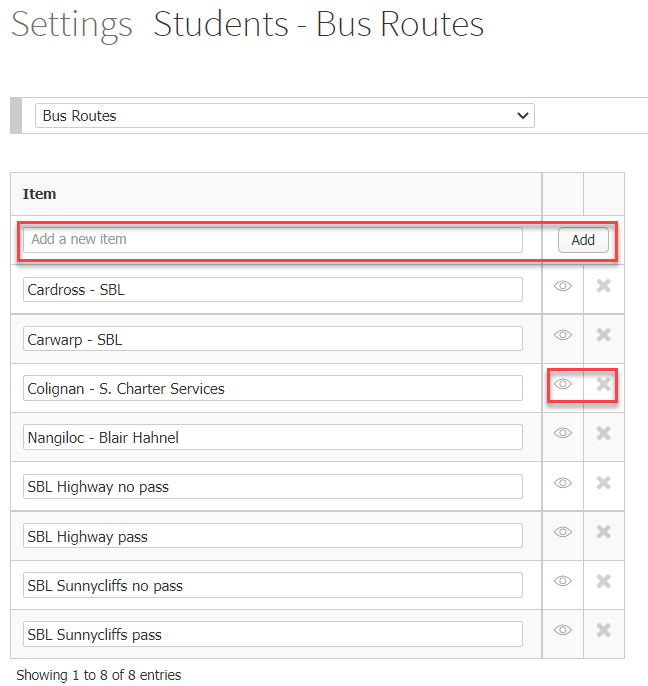
- You can also hide (using the Eye icon) or delete (using the X icon) unused bus routes. You can only delete a bus route if no students have been assigned to that particular route.
Assigning a student to a bus route
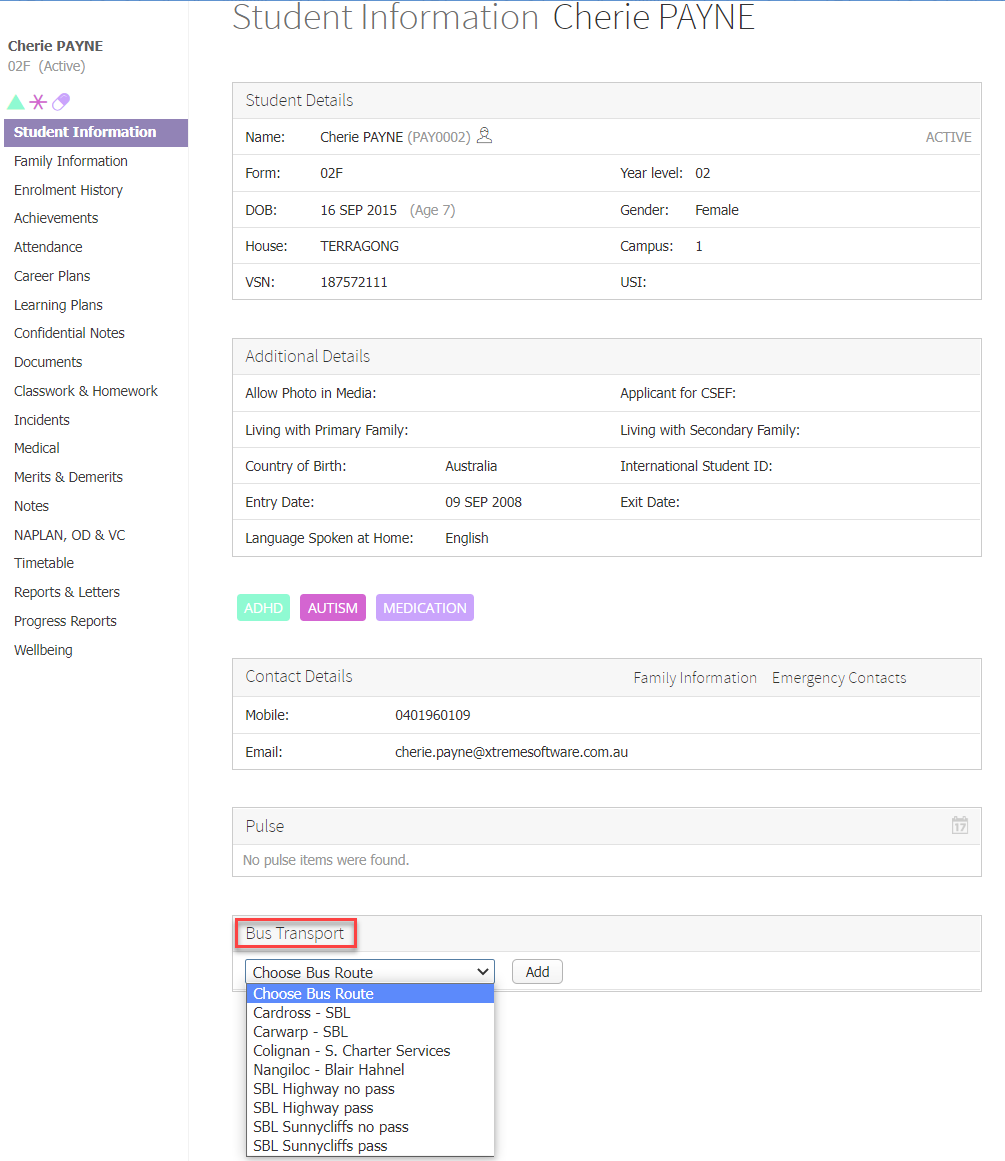
- Find the student using the search bar at the top right of your XUNO page, then click their name to go to their dashboard.
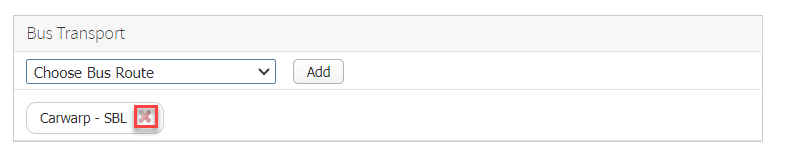
- Use the Bus Transport dropdown list on the student dashboard select the student’s bus route, then click the Add button. You will only be able to modify this option if you have the appropriate permissions.
Removing a bus route for a specific student
- Find the student using the search bar at the top right of your XUNO page, then click their name to go to their dashboard
- Click the red X icon to delete a bus route that this student is no longer assigned to.
Bus route reports
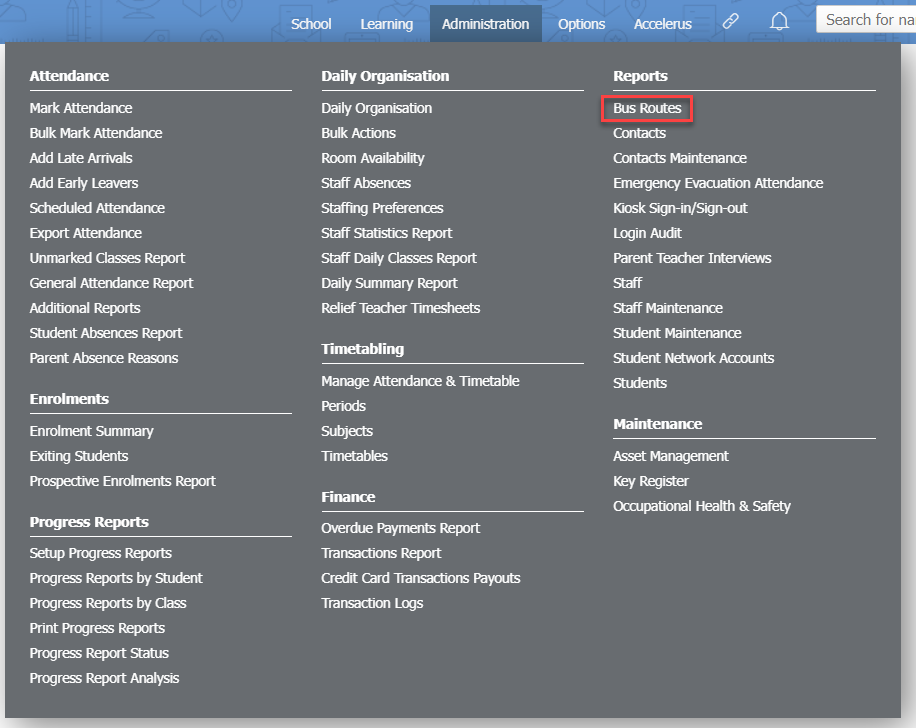
- Go to Administration > Reports > Bus Routes.
- Use the filtering options to change your report as needed.

- Click the Show button. Your report will show the bus route, student, form, parent and emergency contact details.
- Click on the Export to CSV or Print icons to export and/or print your data. If you export to a CSV file, you can then change and remove the columns as required.
Tip:
You may use the Show Columns option to select which columns are included in your report. The following columns are available:
- Bus Route
- Correspondence Details
- Emergency Contact Details
- Student Form
- Student Name
- Student Code