Photo requirements
- Photos must be in JPG or PNG format. The filename of each photo must be the student or staff code recorded in XUNO (usually the TO number). For example: BUR0020.jpg, 016789132.png or John.Smith.jpg.
- Your school photographers will most likely already supply your student and staff photos in the required format.
- Each photo should be no larger than 100 KB, the smaller the better. Photos larger than this may cause browser rendering issues and slowness, as the browser will need to spend time resizing each photo. A photo with 150px width should already look quite good when uploaded. For best viewing results, the width:height ratio should be around 1:1.3.
How to import photos
Before importing, you should compress all the photos you wish to upload into one zip file. Please ensure the zip file contains the images without any enclosing folders - they should all be in one zip file, without any other folder structure.
To zip your photos using the in-built Windows functionality:
- Open the folder where your photos are currently stored.
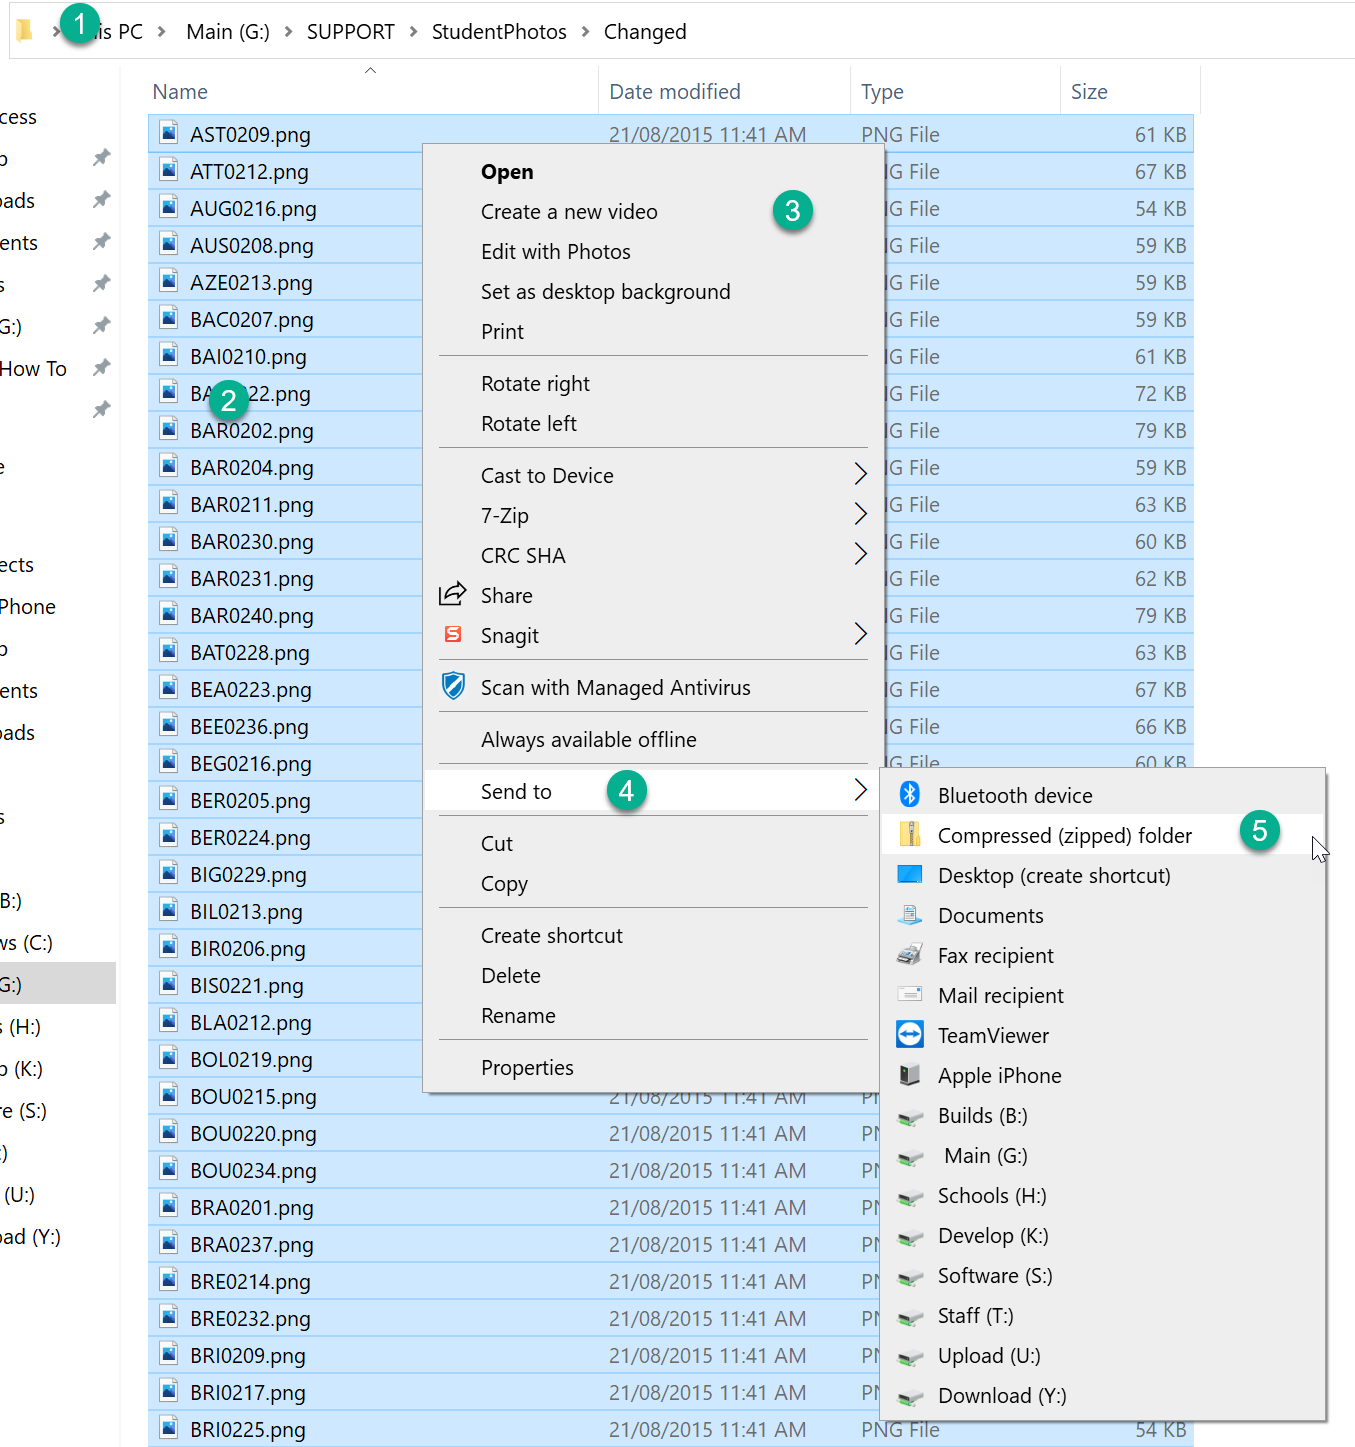
- Select all the .jpg or .png format photos inside the folder that you wish to zip (a handy shortcut in Windows is CTRL+A to select all files within an open folder).
You must not have any folders included in your selection before zipping files. In this step, you are selecting all the photo files (.jpg or .png) inside the folder, then zipping this collection of files.
- Right click on the selected photos and a set of options will appear.
- Select the Send to option and a new dropdown menu opens.
- Select the Compressed (zipped) folder option. The photos will appear in the new zipped folder and this folder will be located in the same place the photos originally were.
Note: For MacBook or other 3rd party ZIP programs on Windows, please follow the appropriate steps for MacOS or those applications.
This file will then be uploaded to XUNO in the following steps.
- Login to XUNO as an Administrator.
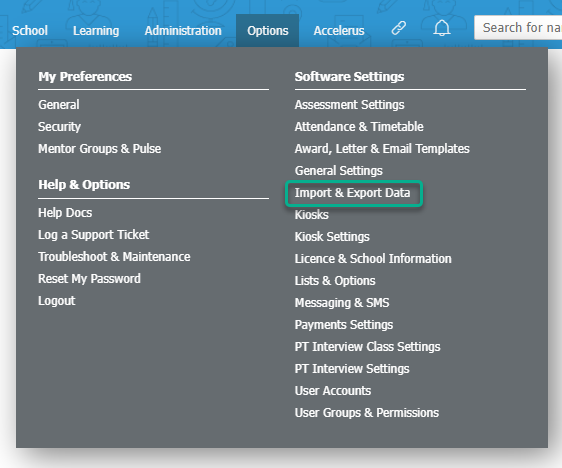
- Go to Options > Software Settings > Import & Export Data.
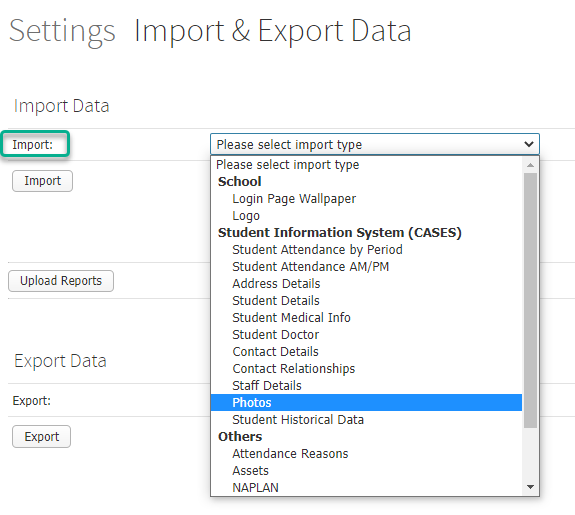
- Use the Import: dropdown list to find the Student Information System (CASES) subheading and select Photos.
- Click Choose File and select the zip file you created earlier.
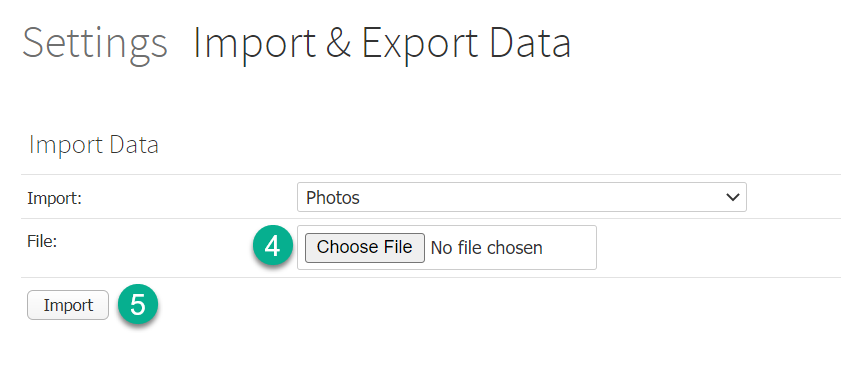
- Click the Import button to import your photos.