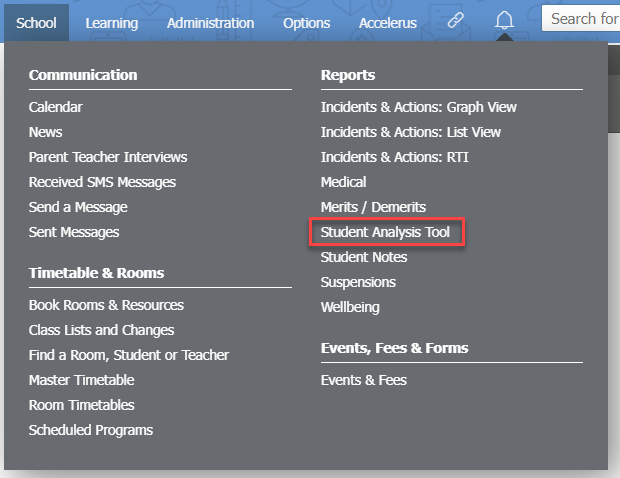
How to use the Student Analysis Tool
- Go to School > Reports > Student Analysis Tool.
- The analysis tool can display results by form, year level, house, campus and class. Select the filtering options that you require.
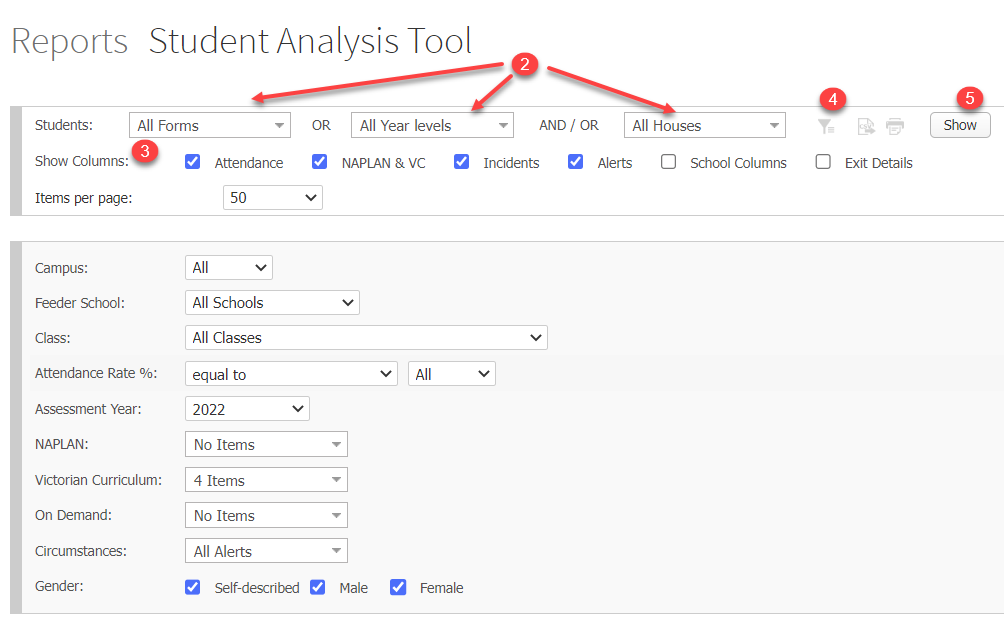
- Tick the checkboxes for the columns of data you would like to display.
- Select some additional filtering options by clicking on the Filter icon.
- Click the Show button to produce your report.
- To search the results for an individual student, type their name in the search bar located to the far right, above the top row of results.
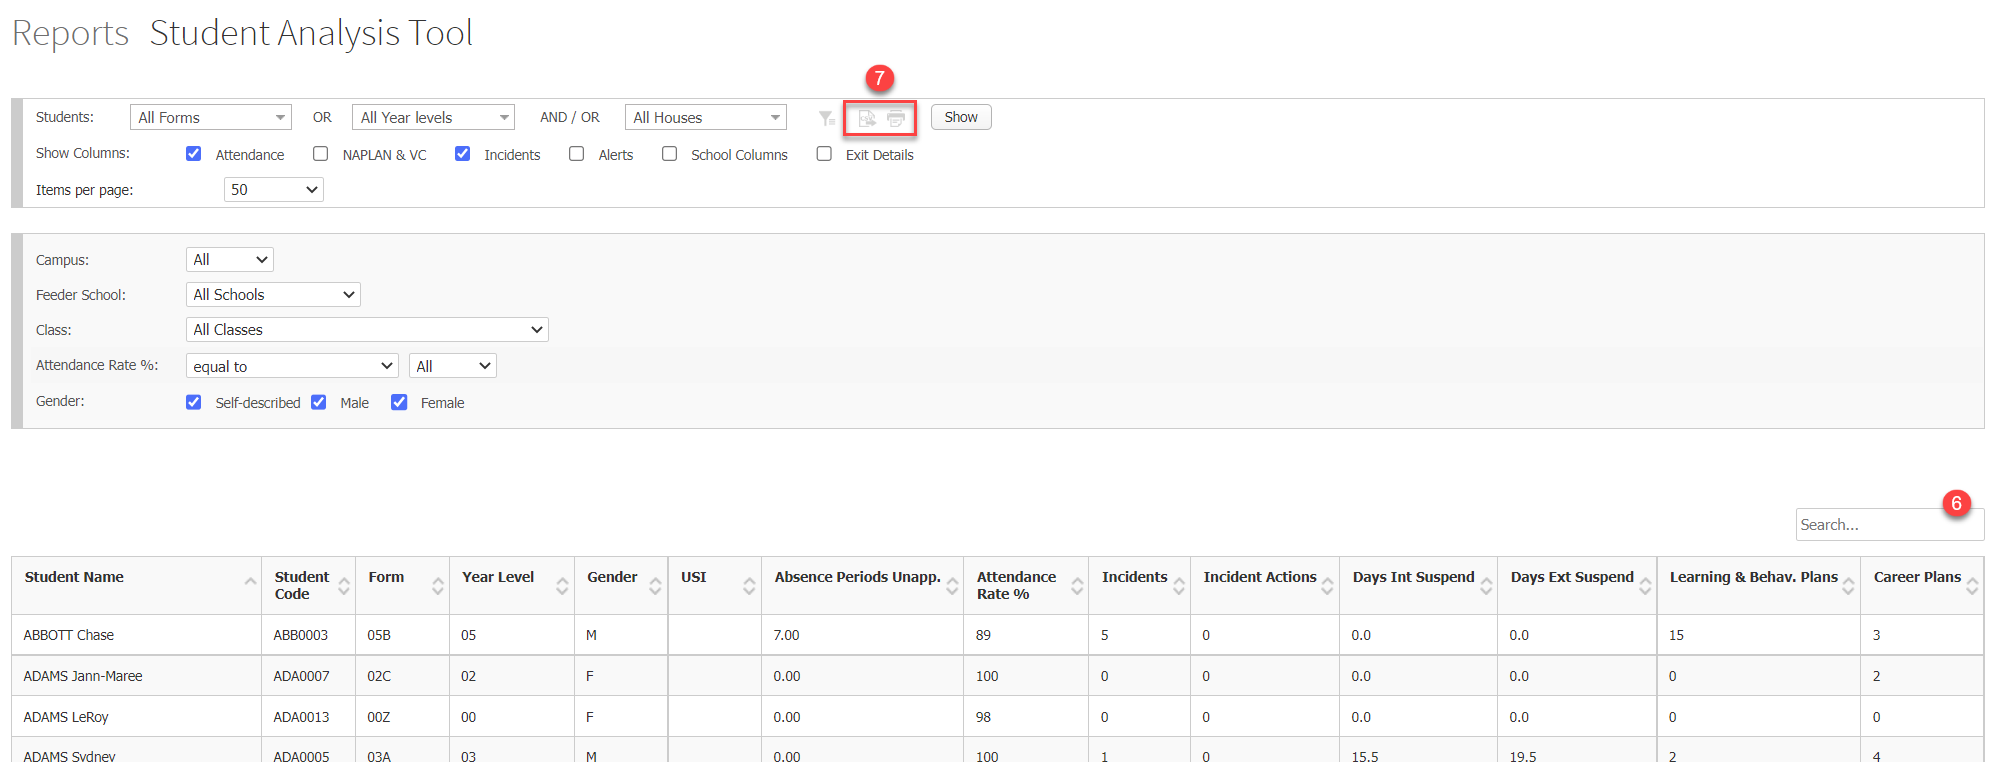
- To print your results or export them to a CSV file, click on the corresponding Print this page or Export to CSV buttons located at the top of the page, on the left of the show button.
- You can enter data into any custom columns you have created by clicking in the relevant cell and entering text, choosing an option from a dropdown list, or ticking a checkbox, depending on the custom column type. See below for instructions on how to create custom columns.
Custom columns in the Student Analysis Tool
You can create custom columns in the student analysis tool in order to record additional data for your students. This extra data is only displayed in the Student Analysis Tool.
To create your custom columns, follow the steps below.
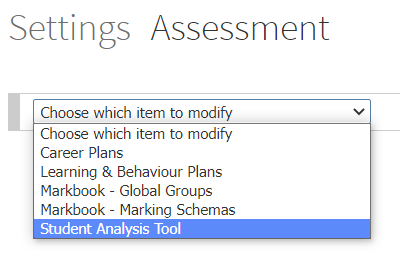
- Go to Options > Software Settings > Assessment Settings.
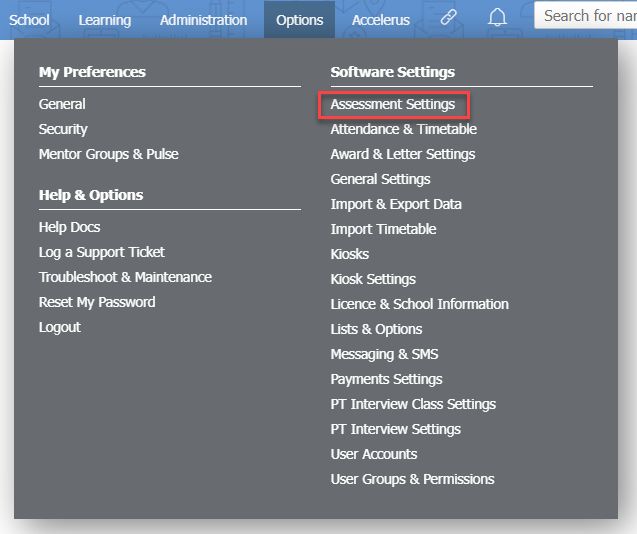
- In the dropdown list select Student Analysis Tool.
- On this page you can create your custom columns by using the top row of the table. You can also delete or hide any of the existing custom columns using the X or Eye icons.
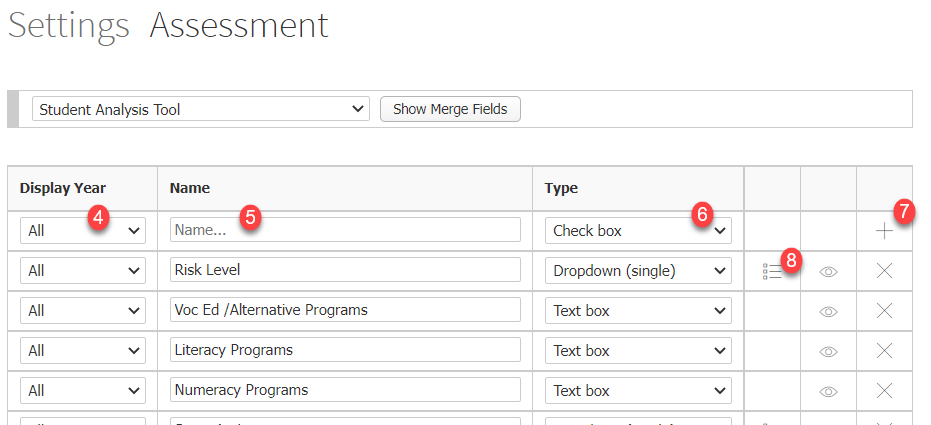
- In the dropdown list under Display Year, select the year that you would like your custom column to be visible for or leave the default All option.
- Type your custom column name in the Name field.
- Use the dropdown list in the Type column to select what type of column you are creating. Custom columns can be a text box, checkbox or dropdown list with options to select from.
- Click on the + icon to add your new custom column.
- If you selected Dropdown (single) in the Type column, you will need to specify your dropdown options. Click on the List icon in the column next to the Type column to create your options.
Note: To show your custom columns in the results, tick the School Columns checkbox next to Show columns: when selecting what to display.
Note: Attendance data is displayed in the student analysis tool for schools that use XUNO Attendance and schools that synchronise XUNO with First Class Attendance or CASES21 Attendance.