In this article
How to use the Pulse notifications
You can select which students to track and only those students will appear on your Pulse feed. This is done by creating your own mentor group. In addition, Pulse items for students you are assigned to as a XUNO Coordinator will show on your feed.
Items can be acknowledged so that you can keep track of which items you have already viewed. To acknowledge an item, click on the corresponding item's Tick icon, and its text colour will change to light grey.
Items in XUNO that will trigger a Pulse notification are as follows:
- A new incident
- A new action
- Overdue classwork or homework in Markbook
- A new student note or confidential note
- A new wellbeing note
- A new achievement
You will only see pulse notifications for items you have been granted permission to see. For example, if a confidential note is created for a student in your pulse mentor group and you do not have permission to view confidential notes, you will not receive a pulse notification.
Did you know?
When a new item is added to your Pulse feed, a Notifications alert icon will appear in the top blue header bar as an alert. Click on the Notifications alert icon to view your Pulse alerts. Clicking on a Pulse alert in the Notifications pane will direct you to your dashboard page.
Features of the Pulse widget
Pulse is a live list of newly added entries to students in your Mentor group. The colour of the writing in the entries indicate if you have acknowledged (grey) an entry or not (black). A Tick icon will appear on entries you have yet to acknowledge.
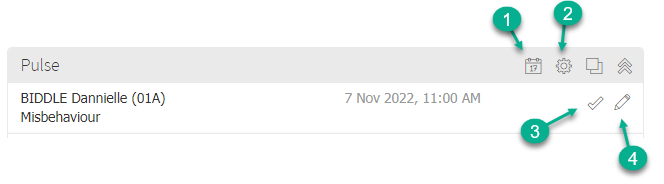
- Click the Calendar icon to change the view option, to show or hide more entries by the selected date range.
- To add or edit the students shown in your Pulse, click on the Gear icon.
- Click on the Tick icon to acknowledge an item.
- Click on the Pencil icon to view information about the item.
Note:
To set your preferred default view for the Pulse widget, go to Options > My Preferences > Mentor Group & Pulse. After saving your selection, Xuno will automatically display the Pulse widget using your chosen view setting.
How to add or remove students from your mentor group
The mentor group is used to link students to the Pulse feature. Items will only appear in the Pulse if the student is a member of your mentor group, or you are their XUNO Coordinator.
- Click on the XUNO menu item to view your dashboard.
- Click on the Gear icon in the Pulse widget.
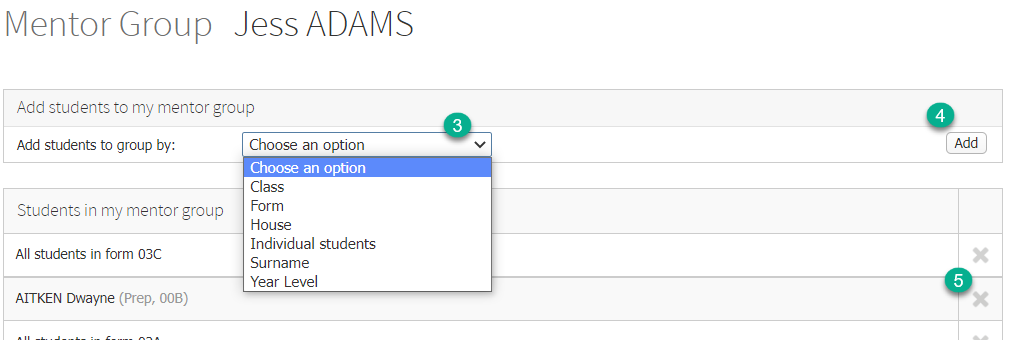
- Use the dropdown lists to add students into your mentor group by form, house, class, surname, year level or individually. Each filter row you add works as an AND join, and further refines the students that will be added to your list.
- Click the Add button.
- From the list, you can likewise click on the X icon to remove a selection of students.