Enabling 2FA means XUNO will ask them to not only use their normal login credentials, but to also authenticate via Google Authenticator or by clicking on a link in an authentication email.
In this article
Why use 2FA?
2FA is used to provide additional security for logins. Not only does a user have to know the login details, they must also have access to either the device that Google Authenticator is installed on, or access to the email address to which the authentication email is being sent.
Different options
Authenticating via email: This option will send an email to the email address registered to the XUNO account. The email will contain a link that the user must click on in order to log in.
Authenticating via Google Authenticator: Google Authenticator is an app used by many companies to provide a secondary point of authentication for users. The user must have access to the device on which they have installed Google Authenticator in order to log in. Once set up, the app will give a unique number that can be used to log in to XUNO. The unique number changes every minute, so a user must be able to open the app to get the new number each login.
Setting up 2FA
Decide which method to use
If using 2FA, decide whether to use email or Google Authenticator. Some points to consider include:
- If installing Google Authenticator on a phone or iPad, do you have access to this device when using XUNO? E.g. if you are a teacher, do you have access to the tablet/phone in the classroom? If you do not have access to the device in the classroom, it is recommended that email authentication is used.
- Is the email address used on the account accessible by more than one person, and all people should be able to log into the same XUNO account? Use email authentication.
- Is the email address used on the account accessible by more than one person, but only one person should be able to log into a particular XUNO account? Use Google Authenticator.
- Is the email address a school-based address, e.g. it@school.com.au, that will be used by someone else once the user leaves the school? If yes, email authentication is generally easier to use.
Set up 2FA
- Email Authentication
- Ensure the email address assigned to the user's XUNO record is the correct one to send the authentication email to.
- The school will need to update the email address in their Student Information System (SIS) if it is incorrect.
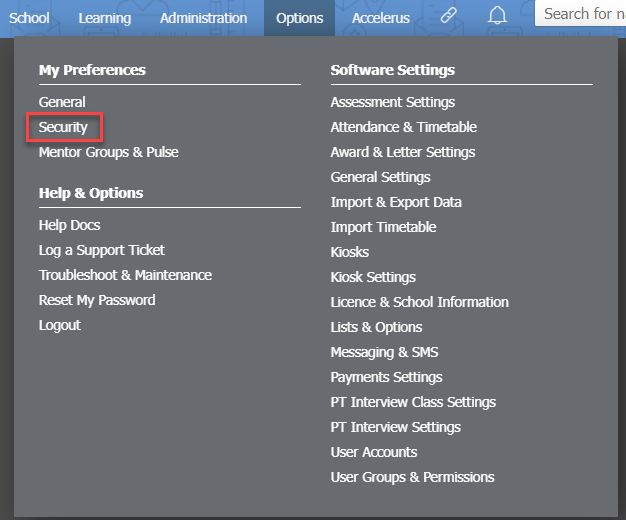
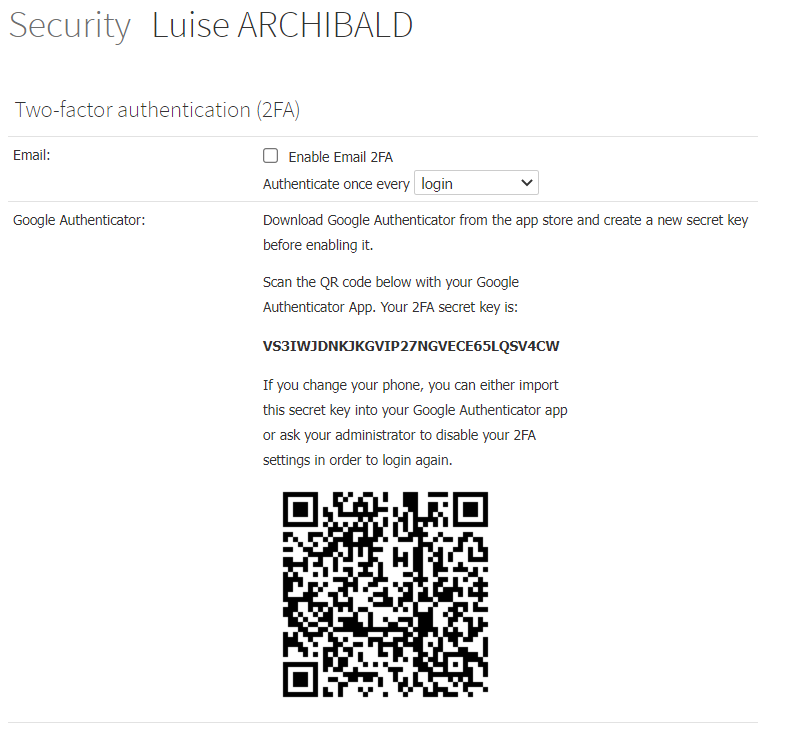
- In XUNO, go to Options > My Preferences > Security.
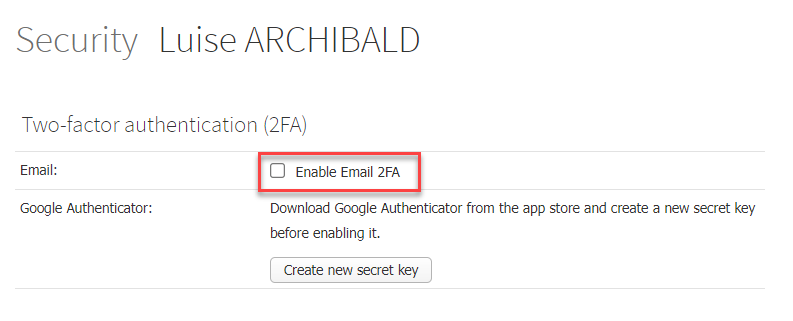
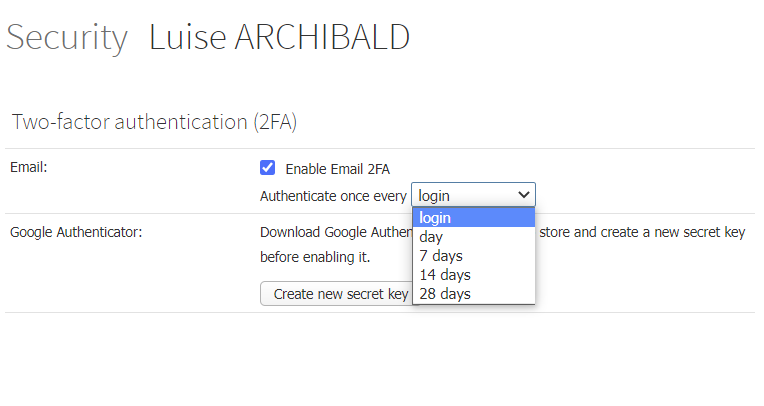
- Tick Enable Email 2FA.
- Click OK at the pop up message.
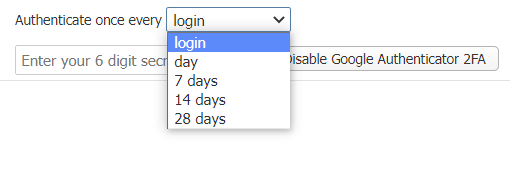
- In Authenticate once every:, select how often an authentication link is needed.
- Google Authenticator
- Download Google Authenticator on the required device.
- Go to either Apple Store or Play Store.
- Search for Google Authenticator.
- Download and install the app. Note the next points may vary from device to device.
- In Google Authenticator, click Begin Setup.
- Click Scan barcode.
- In XUNO, go to Options > My Preferences > Security.
- Click the Create new secret key button.
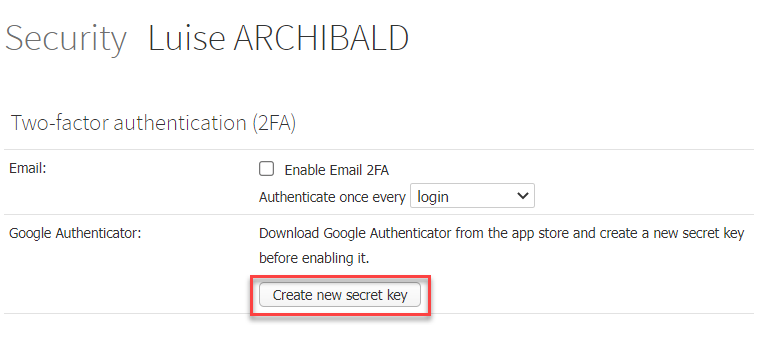
- Click OK.
- With the Google Authenticator app, scan the QR code shown in XUNO. It should then show a 6 digit number in the app. If unable to scan the QR code, choose Manual entry instead and type in the key shown in XUNO.
- In XUNO, tick the Enable Google Authenticator 2FA checkbox (you may need to refresh your screen to see this option).
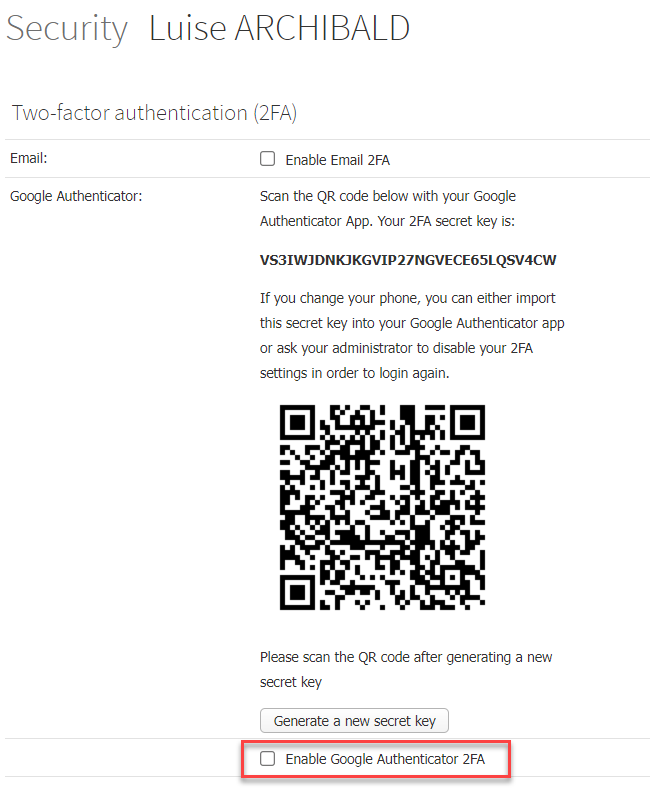
- ONLY if a 6 digit number appears in the Google Authenticator app, click on OK in XUNO. If the Google Authenticator is not yet working, fix this before clicking OK.
- Next to Authenticate once every: select how often a new 6 digit number is required for authentication.
- Download Google Authenticator on the required device.
Logging in using 2FA
Once 2FA is set up, do the following to log in.
- Go to your school's XUNO URL.
- Enter your login information as usual.
- At the prompt, enter either the 6 digit Google Authenticator number, or for email authentication, click the link emailed to you. If you are using Google Authenticator, open the app and enter the 6 digit number shown into XUNO. Do not enter a previous number, as this will no longer work.
- The login process should then be successful.
How to disable 2FA
It is recommended that 2FA is disabled prior to getting a new device if using Google Authenticator. This will allow Google Authenticator to be set up on a new device.
Alternatively, you can disable 2FA in XUNO any time if it is no longer required.
To disable 2FA
- Go to Options > My Preferences > Security.
- If using email authentication:
- Untick the Enable Email 2FA checkbox.
- Click OK.
- XUNO will send an email to the email address recorded for your XUNO account.
- Click on the link in the email you have received to disable 2FA.
- If using Google Authenticator:
- Enter the 6 digit Google Authenticator number (do not enter spaces).
- Click the Disable Google Authenticator 2FA button.
FAQ
Can 2FA be used by parents and students?
Yes, 2FA is available for all users. It is a school decision whether to recommend the use of 2FA or not, although this is highly recommended for best security practices.
How do you disable 2FA if the user can't access their 2FA link?
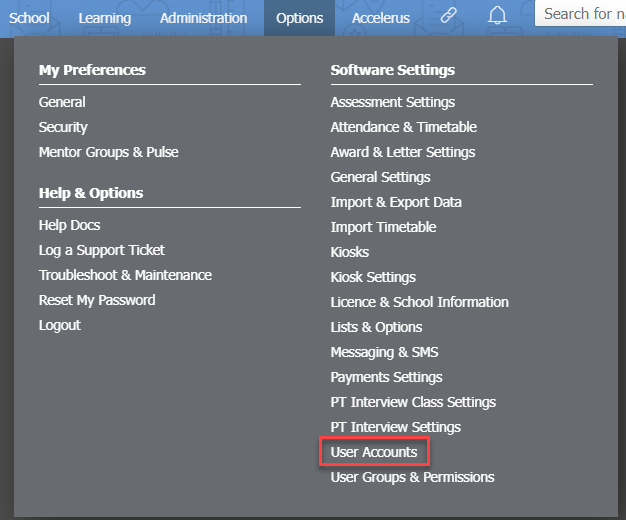
- Go to Options > Software Settings > User Accounts.
- Either:
- Find the specific user and untick the 2FA Enabled check box.
 OR
OR - Select all users who need 2FA disabled.
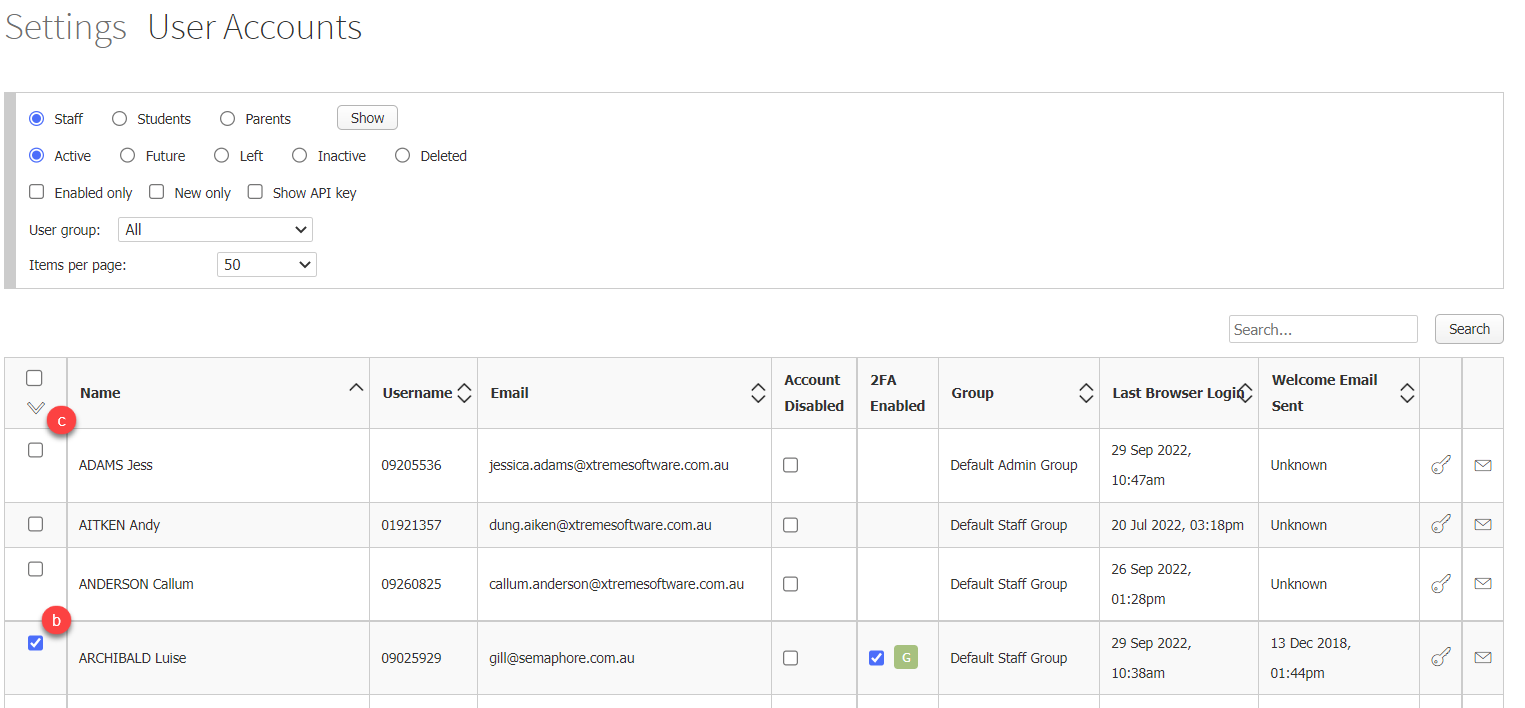
- Click on the arrow at the top of the selector column (in the top left of the table).
- Choose Disable user 2FA.

- Click OK.
- Find the specific user and untick the 2FA Enabled check box.
What do E and G mean in the 2FA Enabled column in User Accounts?
E means the user has set up email authentication.
G means the user has set up Google authentication.
Can you enable 2FA in bulk for all users?
No.