It is important that you correctly set up and link your XUNO periods to your imported timetable periods as it affects your attendance and some emailing functions. You will only have to set this up once, or whenever you change your timetable periods in your timetable.
Please ensure that your timetable is already imported before performing these steps.
Importing timetable periods
When importing a timetable, XUNO will automatically create a new period if it can not find an existing period with the same name or linked 'timetable period'. XUNO keeps its own internal records of periods - allowing you to change period names, delete them and even link them to different timetable periods.
To prevent a previously imported timetable period from displaying on your XUNO timetables, you must 'hide' the period. Do not delete or unlink the XUNO period from your imported timetabled period. Doing so will cause the period to be automatically created again during the next timetable import.
Adding or changing your timetable periods
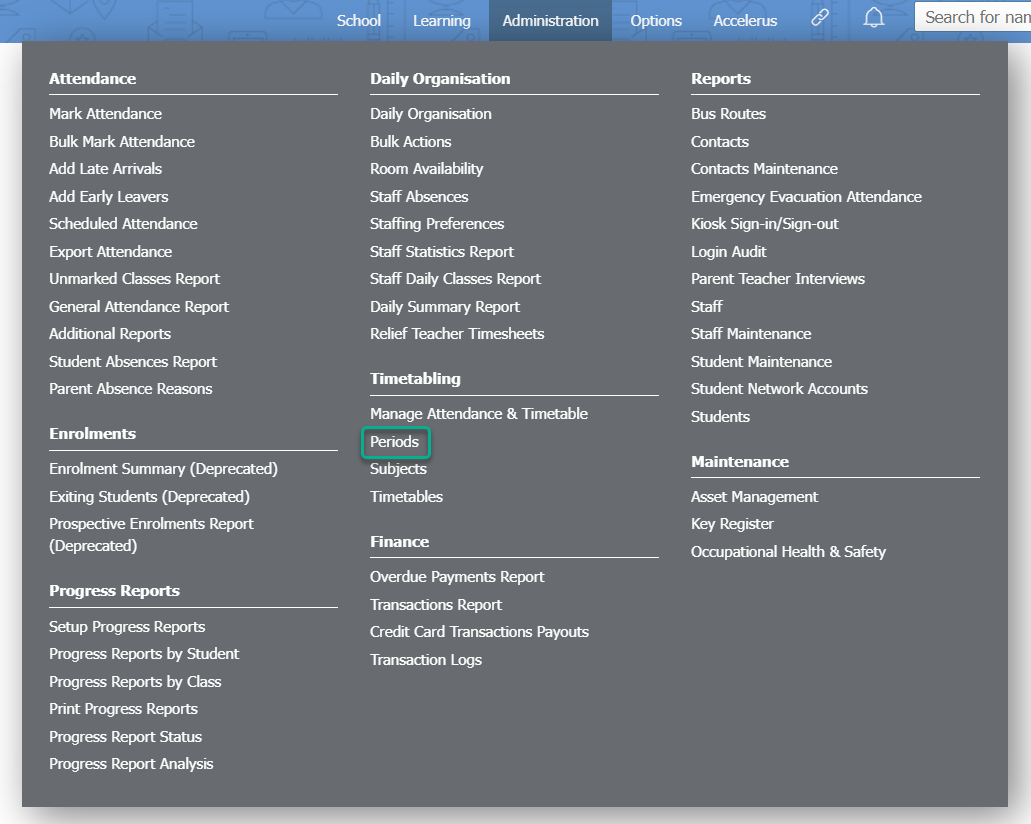
- Go to Administration > Timetabling > Periods.
- If there are no periods listed, add a new period for each of your timetable periods using the options provided. If your printed timetables contain recess and lunch you will also need to add these in.
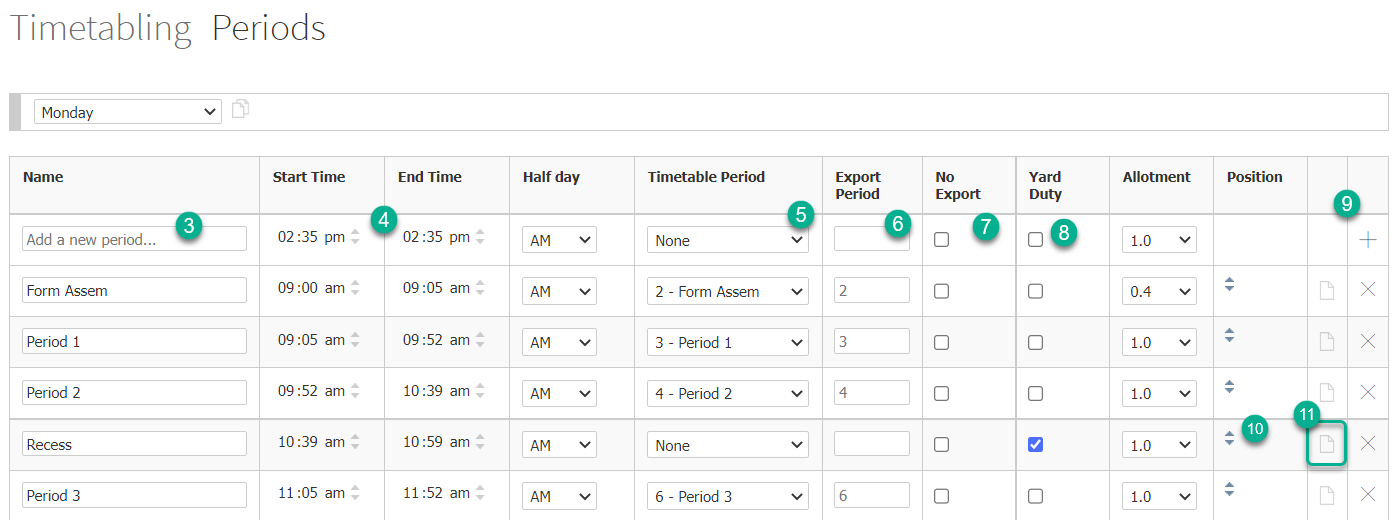
- Type or edit a name in the Name column for each period.
- Set the correct Start Time and End Time for each period.
- Select a Timetable Period option for each period. This will link the current period to your imported timetable period, so that XUNO knows how to match the data correctly.
- Enter an optional period number into the Export Period field to set a custom period number when exporting your attendance data.
- Tick the No Export checkbox if you do not want to export attendance for the corresponding period.
- Tick the Yard Duty checkbox if the period is a yard duty period.
- Click the + icon to add a new period.
- Correctly order your timetable periods using the up and down buttons located on the right of each row. This order effects how periods will appear in the timetable XUNO displays.
- You can hide or show timetable periods using the Hide / unhide item icon provided. Hidden periods will not appear in the timetables shown in XUNO.
- Once you have finished adding or editing the periods for the current day (shown in the dropdown list shown below), you can either select a new day from this dropdown and start from step 4 above, or you can copy the period times in the current day to other weekdays using the icon highlighted.

NOTE: You can have different duration time periods on specific days of your timetable. Choose a day from the dropdown field at the top left of the page and make the appropriate changes to the start and end times of the period or periods that are different. Changes made will automatically be saved.