You do not need to go through these set up steps if your school would like to continue using the existing event approval process that requires only one person to approve an event before it is published.
In this article
Setting up event approval groups
XUNO allows you to set up multiple approval groups for the Events and Fees module. You can set up different approval chain for each event category. It is important to note that XUNO allows an event to be approved in any order. An event is considered approved and ready for publication after all approval groups have approved the event.
Before you begin the set-up steps in XUNO, these are some questions that will help you in gathering all the information required to set this up correctly.
- How many approval user groups are involved in the approval process for this event category?
- Who are the staff members to be included in each of the approval user groups?
- Can the user approve an event they have created?
For example, for an Excursion event such as School Camp, you may want the business manager, the school principal, and the operation manager to approve the event before it is published to the parents.
To set up the approval chain for Excursion event type, you will
- Create all new approval user groups that are not currently defined in XUNO. Please see Setting up event approval groups section below.
- Define which user groups are involved in the approval process for the Excursion event type. Please see Setting up Categories and Approval Chains section below.
- If you do not want staff members to approve their own events, please refer to Allow staff to approve events they have created section below.
Setting up event approval groups
This is where you would set up all the approval groups that are involved in the approval process. You will also be adding staff members to each of these groups.
- Go to Options > Software Settings > Lists & Options.
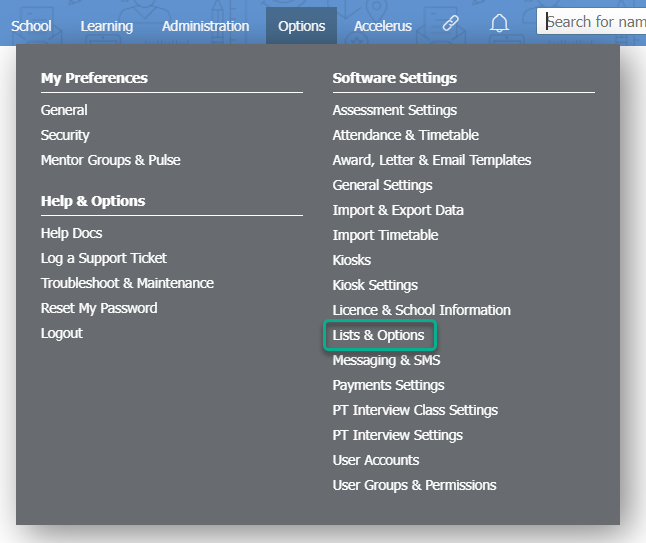
- In the dropdown list, find the Events & Fees subheading and select Approval Groups to create a new approval group.
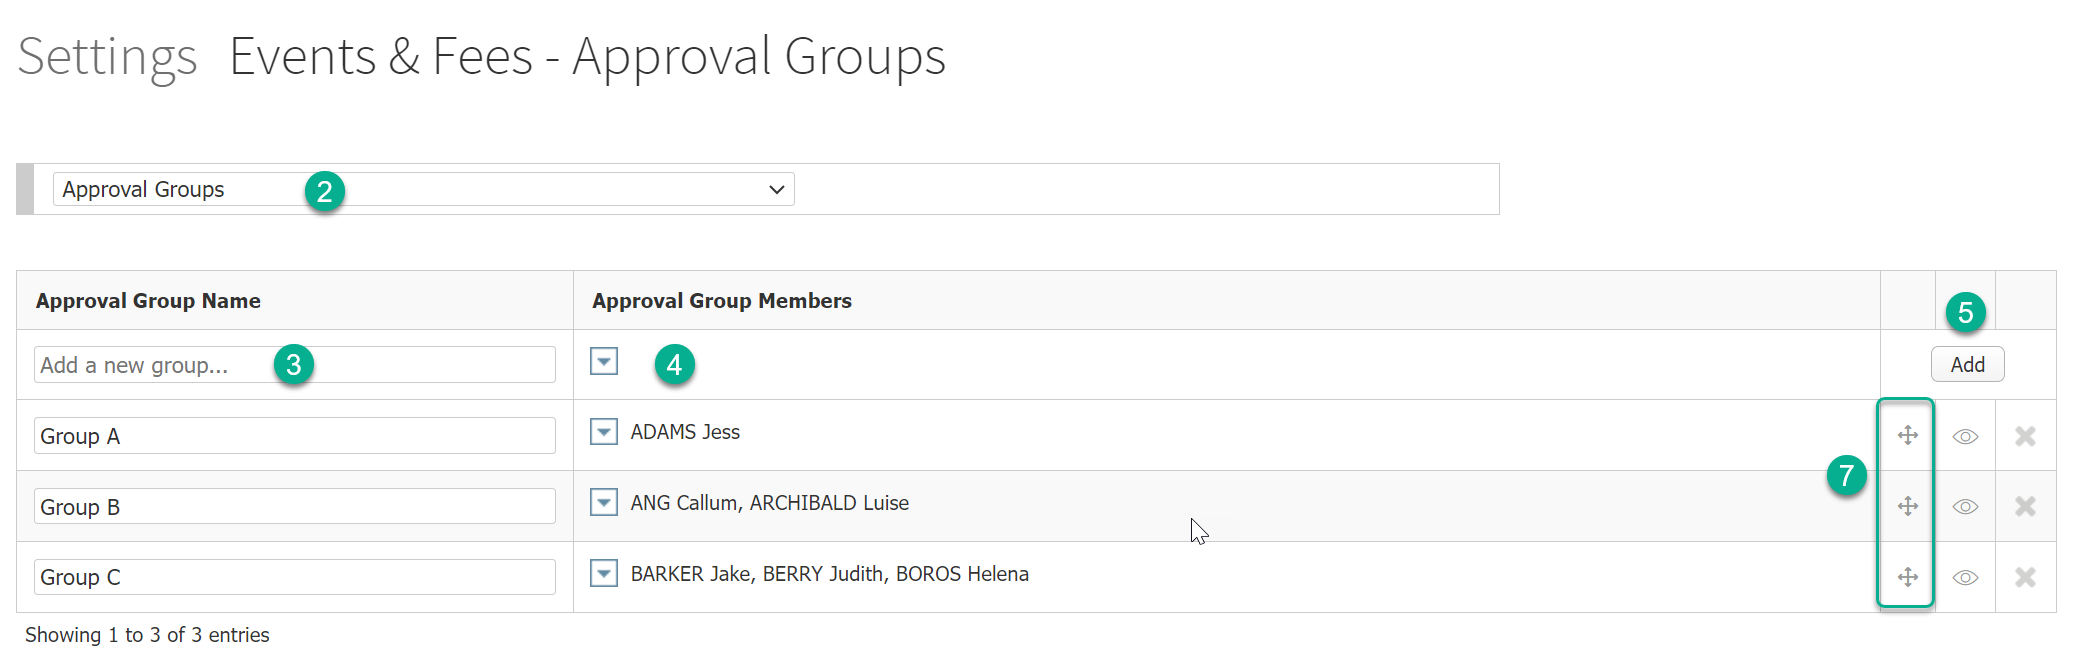
- To add a new approval group, type the new approval group name in the Add a new group... field.
- Select ‘Approval Group Member’ from the list of Staff Members. You may select multiple staff members for each approval group.
- Click the Add button.
- Repeat Step 1 to Step 5 above for each approval group that you want to add.
- Use the Change Position
 icon to organize the approval groups in the order you would like to see it in the event details page.
Note:
All staff members included in the approval groups must also be given the Event & Fee Approval user permission in User Groups & Permissions.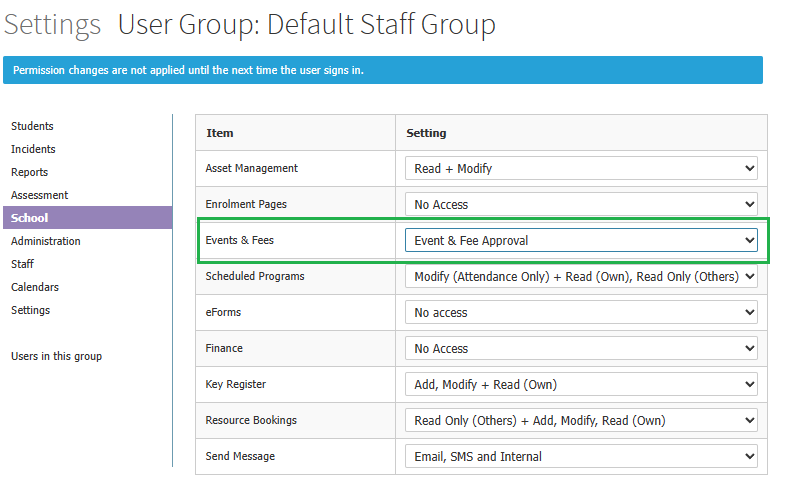
Setting up Categories and Approval Chains
This is where you would create new event categories and assign approval groups to each event category.
- Go to Options > Software Settings > Lists & Options.
- In the dropdown list, find the Events & Fees subheading and select Categories & Approval Chains.
- To add a new event category, type the new event category name in the Add a new group... field.
- Tick the check box for the approval groups that you would like to link to this new event category. You may select as many approval groups as required for each event category.
- Click the Add button.
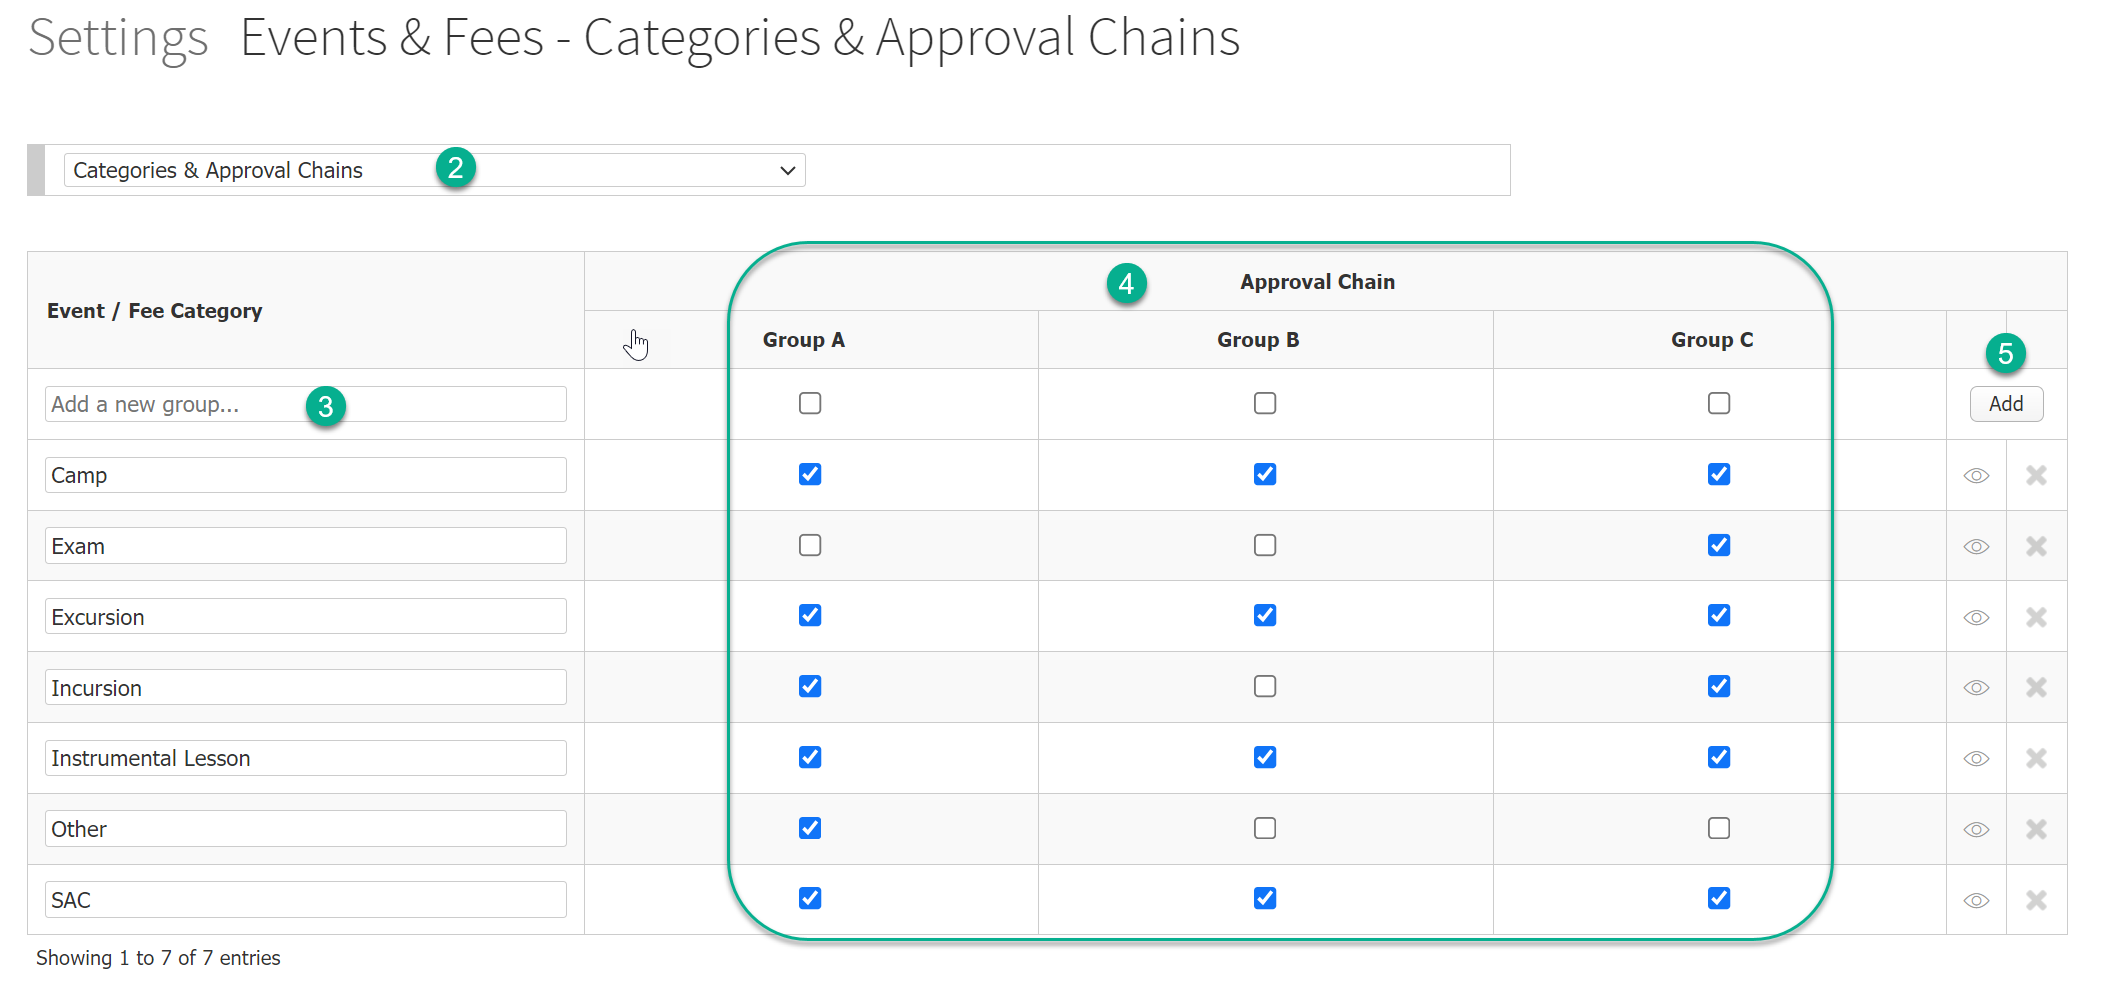
For each of the event category in the Categories & Approval Chains table, you may tick or unticked the Approval Groups check boxes for the approval groups that you want to include or exclude in the approval process.
Note:
Each event category must have at least one Approval Group selected.Allow staff to approve events they have created
This is where you can define whether a staff can approve their own events.
- Go to Options > Software Settings > Lists & Options.
- In the dropdown list, find the Events & Fees subheading and select Self Approval Permissions.
- To enable staff to approve events they have created, tick the Allow staff to approve their own Events check box. If this check box is not selected, another staff member in the same approval group will have to approve the event.
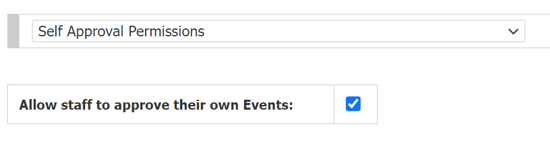
The Allow staff to approve their own Events check box is checked by default. You must remember to turn off this check box if you do not allow staff to approve their own events.