Options
There are two different options:
- Copying the Zoom meeting link created within Zoom into a XUNO message.
- Adding a Zoom meeting link created within XUNO into a XUNO message.
The advantage to creating a link via XUNO is that when a student joins a meeting, the student's name (as entered in XUNO), is displayed to the teacher. This makes it easier to see who has joined the meeting. In addition, sending a link via XUNO gives recipients greater confidence that it is a legitimate URL from the school, not one sent by a random person.
The article covers how to do option 2. For option 1, simply copy the link from Zoom and paste into a message.
Creating an API key
Teachers must have their own Zoom account to use this method.
Creating an API key and adding it to XUNO is a once only process that must be done in order to use Zoom via XUNO. It does not have to be done for every meeting a teacher creates.
Each teacher must do this step. It is not a school setting, rather a specific teacher setting.
- Go to https://marketplace.zoom.us/
- Log into your personal Zoom account.
- Click on Develop in the top right corner.
- Choose Build App.
- Select JWT.
- Click Create.
- Type in the name of your App - We recommend 'XUNO'.
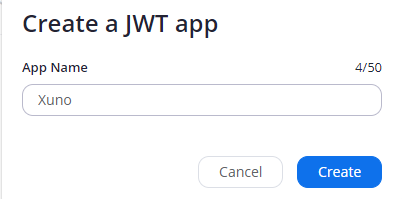
- Click Create.
- Enter the Company Name (this can be just your name, or the name of the school).
- Under Developer Contact Information, enter your name and email address.
- You do not need to fill in any other details.
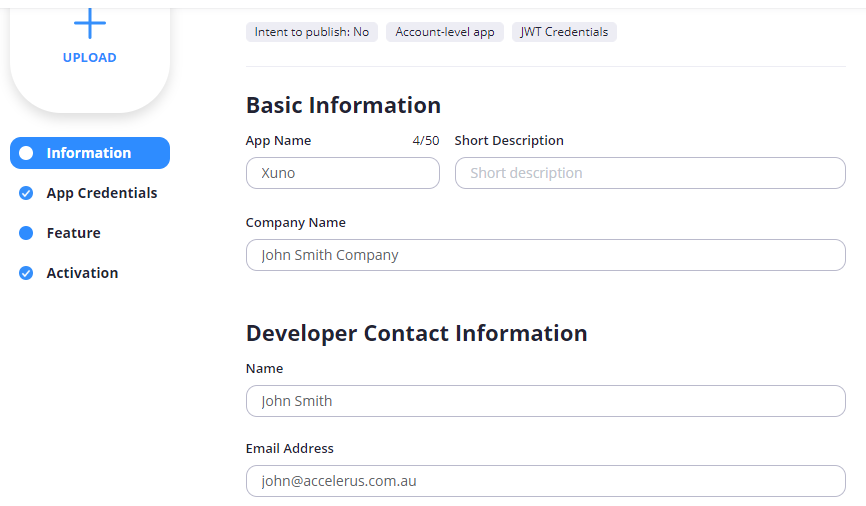
- Click Create.
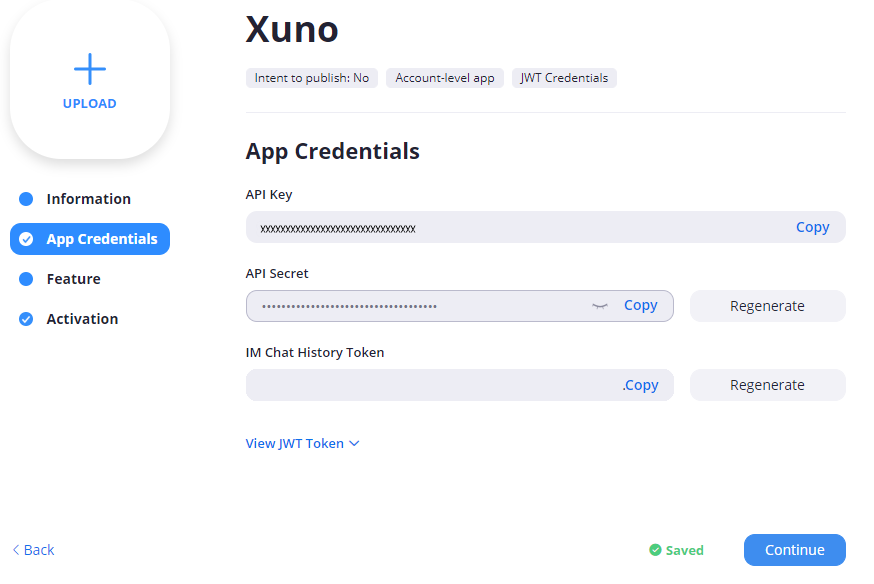
- Next to API Key, click Copy.
- Open a new tab in your browser and log in to XUNO.
- Go to Options > My Preferences > General.
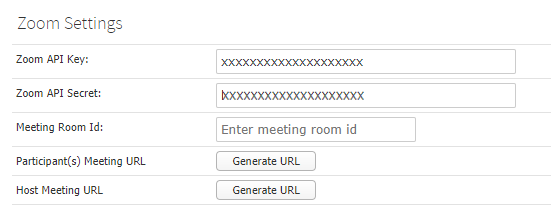
- Scroll down to Zoom Settings.
- In the Zoom API Key: field, paste the API Key copied in step 13.
- Go back to the Zoom window you have open in the other browser tab.
- Next to API Secret, click Copy.
- In XUNO, paste the API Secret in the Zoom API Secret field.
- Go back to the Zoom window.
- Click Continue.
- Do not turn on Event Subscriptions if asked.
- Click Continue.
- Your Zoom account is now linked to XUNO.
Creating the Zoom meeting
Use Zoom to create a meeting as you normally would do so based on school preferences. There are two main points that you need to remember when linking it with XUNO:
- Remember to set up a password.
- Take note of the meeting ID.
Sending invitations via XUNO
In XUNO. do the following:
- Go to School > Communication > Send a message.
- In Send Message To: choose All students in a class.
- In Class: Select the class the meeting is for.
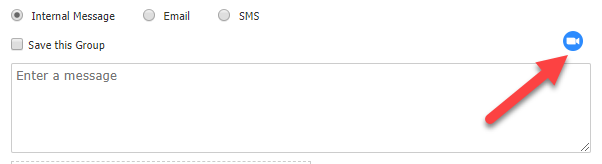
- Choose the type of message to send: Internal Message/Email/SMS. Note: We recommend Internal Message or email where possible, to avoid costs of SMS.
- Click on the Zoom icon.
- In Enter Meeting Room Number: type in the Zoom Meeting ID. You can copy and paste from the Zoom meeting.
- Click Insert.
- This will insert the link to the meeting.
- Enter any additional text you wish to include in the message. Don't forget to include the password for the Zoom meeting, or to make sure you send the password in a separate email.
- If sending an email, enter an appropriate subject line.
- Click Send.
- Click OK.
- Choose an appropriate option regarding other messages to send out.
Logging into a Zoom meeting via XUNO
Teachers should start a Zoom meeting as per normal via Zoom.
Students can go via Zoom and enter the details as usual, or they can log in via XUNO. To do this:
- Click on the link in the message sent by the teacher.
- Log in to XUNO using normal credentials.
- Enter the Zoom meeting password.
- Click Join.
FAQ
What is the Meeting Room ID in Options > My Preferences > General?
The Meeting Room ID is for when you are using the same Meeting Room ID for every meeting. If so, entering the meeting room ID here means that when you click on the Zoom icon in Send a Message, it will automatically populate it with this ID. If you are using the same Meeting Room ID you can still enter it directly in Send A Message
What is the Participant(s) Meeting URL in Options > My Preferences > General?
Participant(s) Meeting URL allows you to create the URL for the Zoom Meeting from this page and then automatically be taken to the Send A Message window.
Simply click the Generate URL button, and then click on the email symbol next to the URL. This will open the Send a Message window, where you can then choose your recipients. It is the same as the steps outlined above, just getting there another way.
What is Host Meeting URL in Options > My Preferences > General?
Host Meeting URL allows you to generate the URL used by the host of the meeting - yourself. You can also email this link to yourself if you wish. Alternatively, you can start a meeting as per normal in Zoom for that Meeting Room ID.