XUNO allows for an unlimited number of calendars. Each faculty could have their own calendar in addition to each staff member’s own personal calendar. Different calendars are important for categorising calendar items and information, and for sharing calendar items with specific groups.
For example, you may have a Whole School calendar with calendar items for items that will be shared with staff, parents and students, or another Staff Meeting calendar with calendar items/bookings specifically relevant to staff only.
The calendar also integrates with student incidents and actions to allow staff to set reminders to follow up certain items.
Adding, editing or deleting calendar types
- Go to Options > Software Settings > Lists & Options.
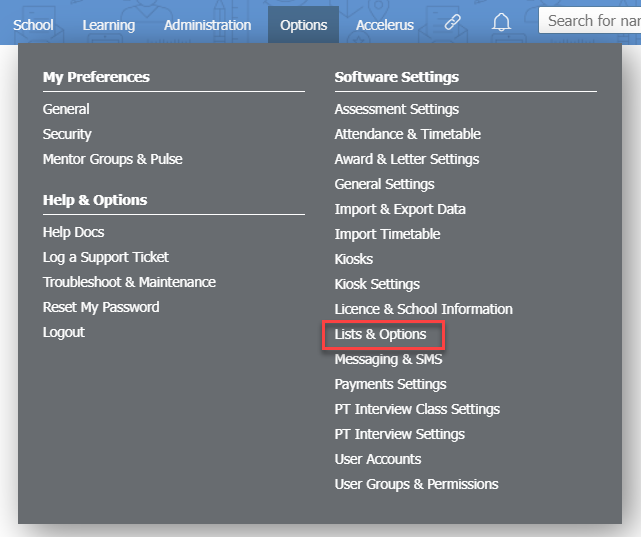
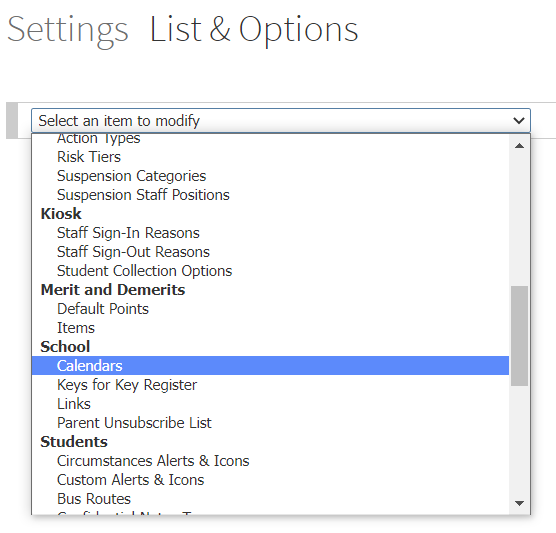
- In the dropdown list, select Calendars under the School subheading.
- To add a new calendar needed for your school organisation, type the new calendar name into the Add a new calendar field.
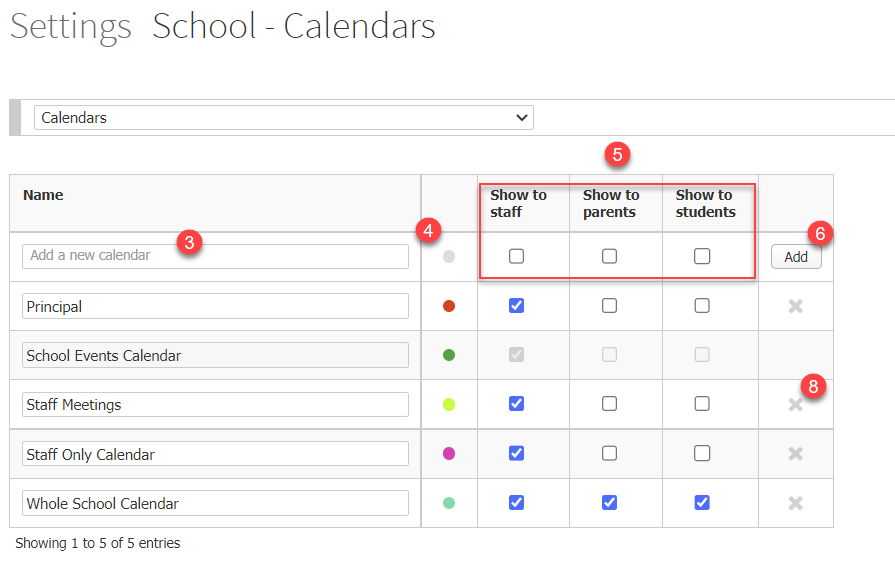
- Click on the Dot icon in the next column, then use the colour picker to select the dot colour that will appear next to the calendar items.
- Select which groups (staff, parents and students) will be able to see the calendar items using the checkboxes shown.
- Click the Add button.
- Edit existing calendars by modifying their name, dot colour and/or tick box settings as required.
- Delete any existing calendar by clicking on the X icon. A verification message will pop up that asks you to verify the deletion of the calendar. Select OK if you are sure that this calendar is no longer used.
Note: Deleting a calendar will delete all calendar items/bookings associated with that calendar.
Adding a new calendar item
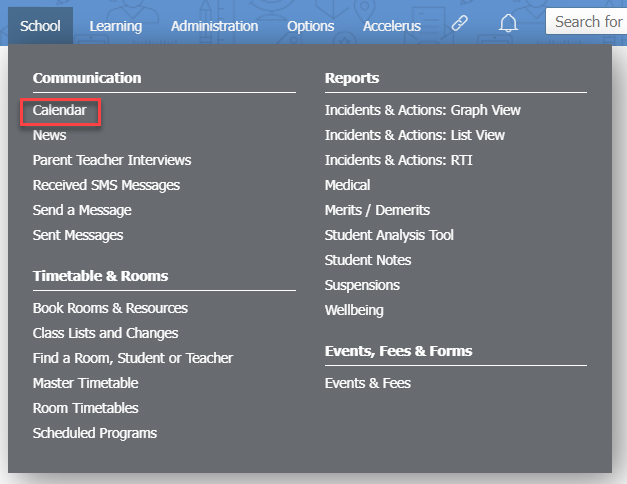
- Go to School > Communication > Calendar.
 Then, click on the empty space of the date you would like to add the item to. You can use the arrows next to the Calendar icon in the top right to navigate to the next or previous month, or click the icon to select a month and year.
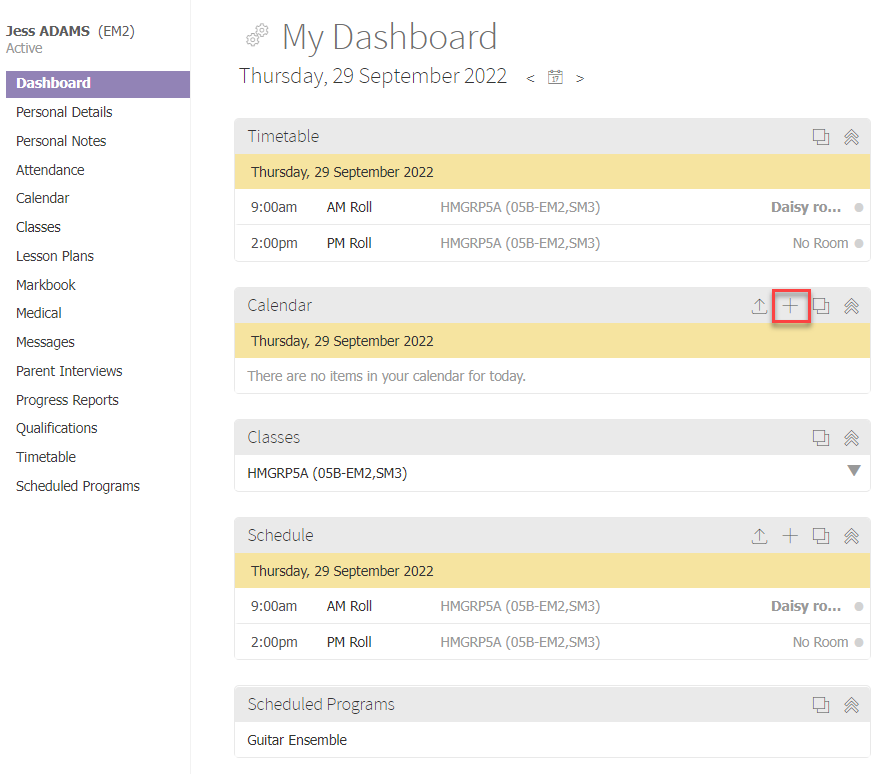
- You could also create a calendar item by clicking on the + icon on your Calendar widget on the dashboard.
- Enter the event name and notes by typing into the text areas.
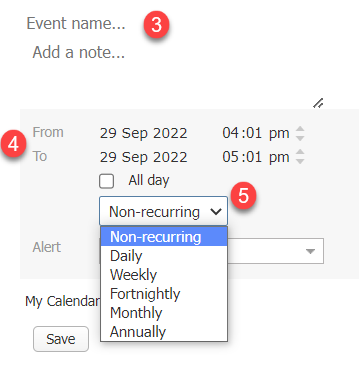
- Alter the From and To dates and times if necessary. Edit dates by clicking on them and selecting a new date using the calendar picker. Edit times using the up and down arrows, or by double clicking the digits and typing in new data. You could alternatively tick the All day checkbox if required.
- If the item only occurs once, leave the default Non-recurring selection in the dropdown list. Otherwise, select your desired recurrence frequency.
- If the event is recurring, select an end date by clicking on the Please select an end date text, then clicking on the relevant date using the calendar picker.
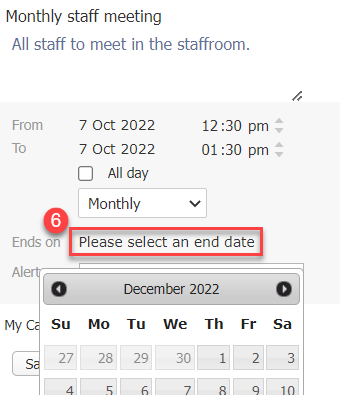
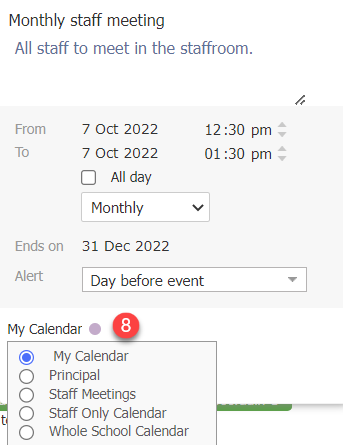
You can use the forward arrow icon to navigate to future months. - Select the date you would like XUNO to remind you of this event using the Alert dropdown list.

- Select which calendar you would like to add the event to by clicking on the My Calendar text and choosing from the selection that appears. Only calendars which you have permission to add items to will appear.
- Select which users you would like to show the event to.
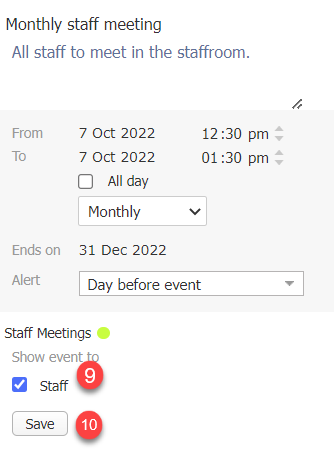
In this example, Staff is the only option, because this calendar type is only shown to staff users. If a different calendar was selected for the new calendar item, you could then make further selections to narrow down which parents/carers or students will see the item on their calendar. You can see in the example below that this item will be shown to all staff, but only Year 12 students and their parents/carers.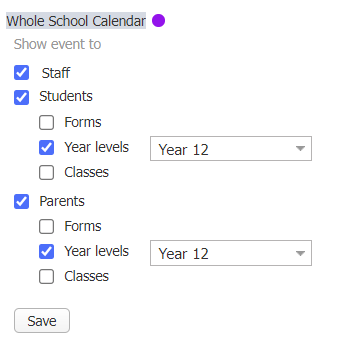
- Click the Save button.
Did you know?
XUNO can also automatically send an email alert to the relevant users attached to the calendar event. For instructions on how to enable or disable email alerts, read the article: How to set up and manage email alerts for parents, staff and students.