![XUno logo White with border.png]](https://docs.xuno.com.au/hs-fs/hubfs/XUno%20logo%20White%20with%20border.png?height=35&name=XUno%20logo%20White%20with%20border.png)
You can generate and download your student interim reports or semester reports from the web-based Student Maps module. These are the same reports that you can generate from within the GradeXpert desktop application.
• Student report layouts are still designed in the GradeXpert desktop application. If you already have report designs created in GradeXpert desktop application, these are automatically available to generate from the web-based Student Maps. There is no need to recreate your existing GradeXpert report designs for the web-based Student Maps.
• If you want new report designs to be created, these are also still done in the GradeXpert desktop application, which is connected to your school’s Student Maps database.
• Reports use data entered by teachers into a student map. These include end of semester results, attendance data, comments, skill outcomes and more.
• Teachers can generate their own reports as needed, it’s not necessary for only one person in the school to generate all reports. Reports are generated on the Student Maps server, so there is no need to tie up your computer to generate a set of reports.
• Note: If you are using a font in your report layouts that do not print out as expected on your reports, that font may need to be installed on our Reports server before your reports can include those fonts. Please contact us for assistance if this occurs.
How to Generate Reports
• Select the classes and students you want to generate reports for. Only students who have a tick next to their name in the student list will have a report generated.
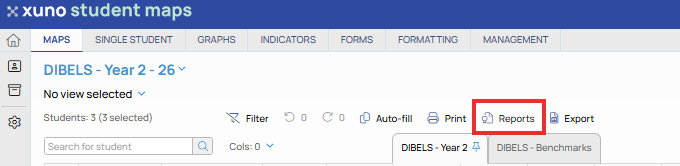
• Click the Reports button.
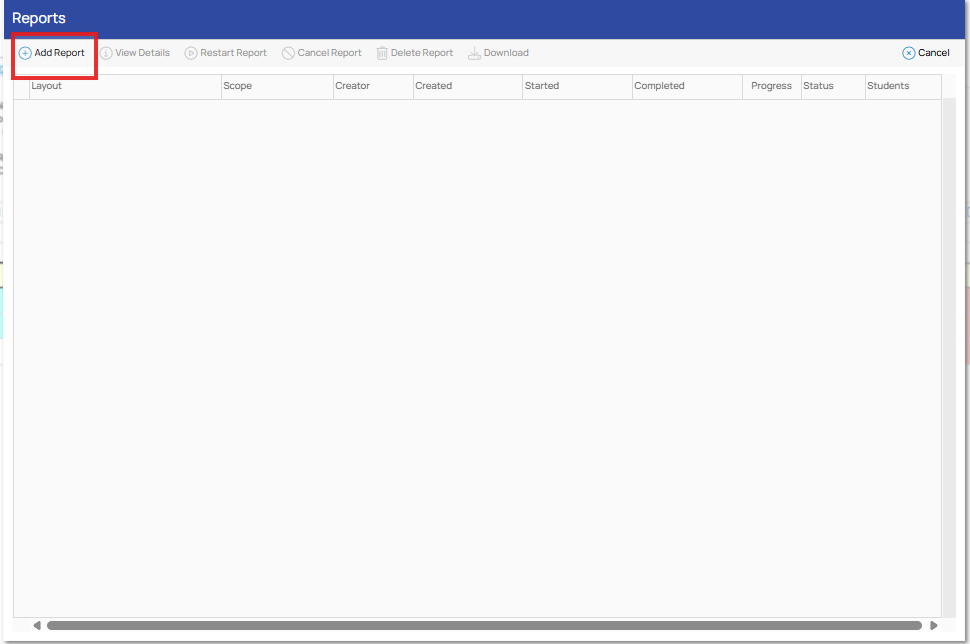
• You will be shown the list of past reports generated, and any current reports currently being generated, or reports that have been completed and are ready to download.
• This list only shows reports that you have created, not reports created by other staff members.
• For an existing or completed report shown in this list, you can view the report run details for that report by clicking on the relevant row, and then clicking View Details.
• This will show you the report design used, date options and report naming options selected.
• For a completed or cancelled report shown in this list, you can delete it from this list by clicking on the relevant row, and then clicking Delete Report. We recommend deleting cancelled and completed reports from this list regularly, to ensure the list doesn’t become unmanageable. You can always recreate reports as needed by starting a new report run.
• To start a new report run, click Add Report on the main report page.
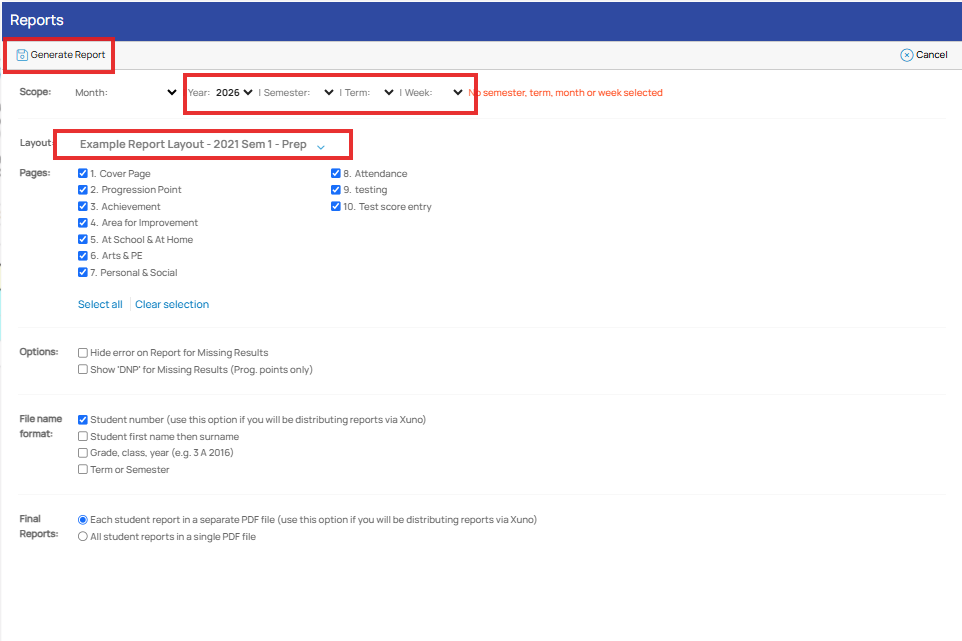
• You will then be shown the report options screen, which is where you choose the report run options for this set of reports. Reports will be created for all the students selected on the Student Maps page.
• Select options for this report, including the report layout to use and year/semester etc. for this report. These date settings must match the date settings used to enter data for this report, which you can see in the map column headings, e.g. 2022 Sem 1, or 2022 Term 3, for example.
• You can also specify how the final individual PDF report files will be named. Choose any combination of student name, student number, reporting period (e.g. 2022 Semester 1) and/or the student’s class and year, e.g. 3 A 2022. • If you will be distributing these reports via the Xuno parent portal or parent app, ensure you only select Student Number as the naming option.
• When you have selected your report options, click Generate Report. This report request will then be sent to the Reports server.
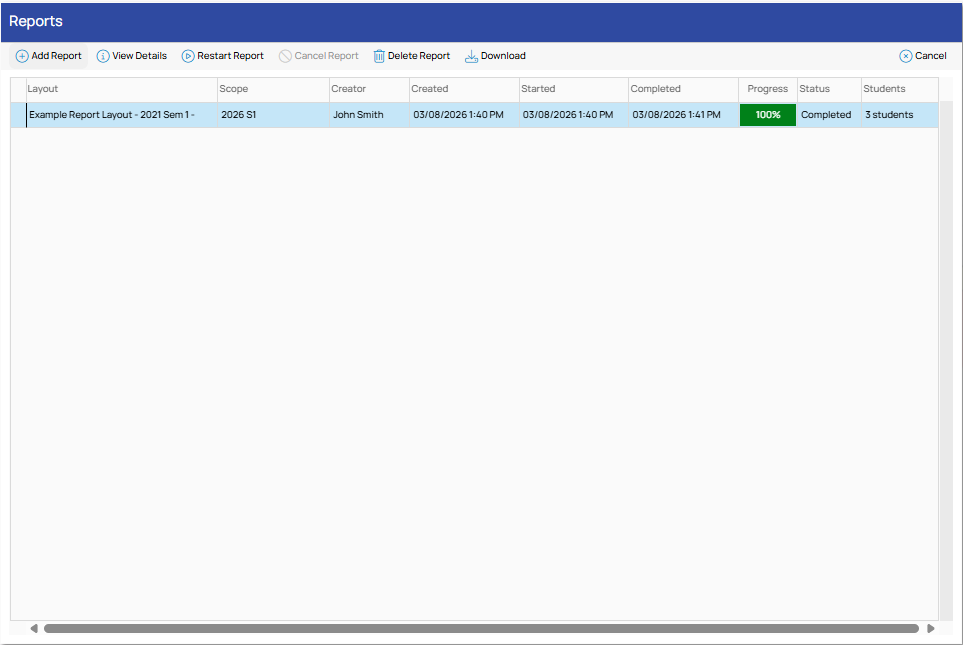
• Within a few moments the report generation will begin, and the percentage complete will be updated as reports are being generated.
• You can close this report list page and return to Student Maps, and any report generation already in progress will continue behind the scenes. You can then return to this Reports screen at any time to see the progress of these reports.
• You can cancel this report generation process at any time by selecting the report to cancel and then clicking the Cancel button. If you want to restart this cancelled report run, you will need to recreate it from scratch, as cancelled report runs cannot be restarted.
• When all reports have been created for the selected students, and the progress bar has reached 100%, the Download button will become active for that row.
• Clicking Download will download a zip file containing all the individual PDF reports of the selected students, named according to the naming format you have requested.
• You can have multiple reports running simultaneously, simply start one and then start the next. You can also have multiple staff at the school generating reports simultaneously for their own class.